CYBERDECK-PI18
Introduction
This is a small project that was mainly an excuse to build a keyboard. The main idea behind this was to have a 60% mechanical keyboard that also had a small screen attached for either running apps locally on a raspberry pi, or showing information from a Kubernetes cluster over SSH. It ended up being a pretty simple project with CNC milling carbon fibre being the trickiest part dulling many end mills in the process.
Keyboard build
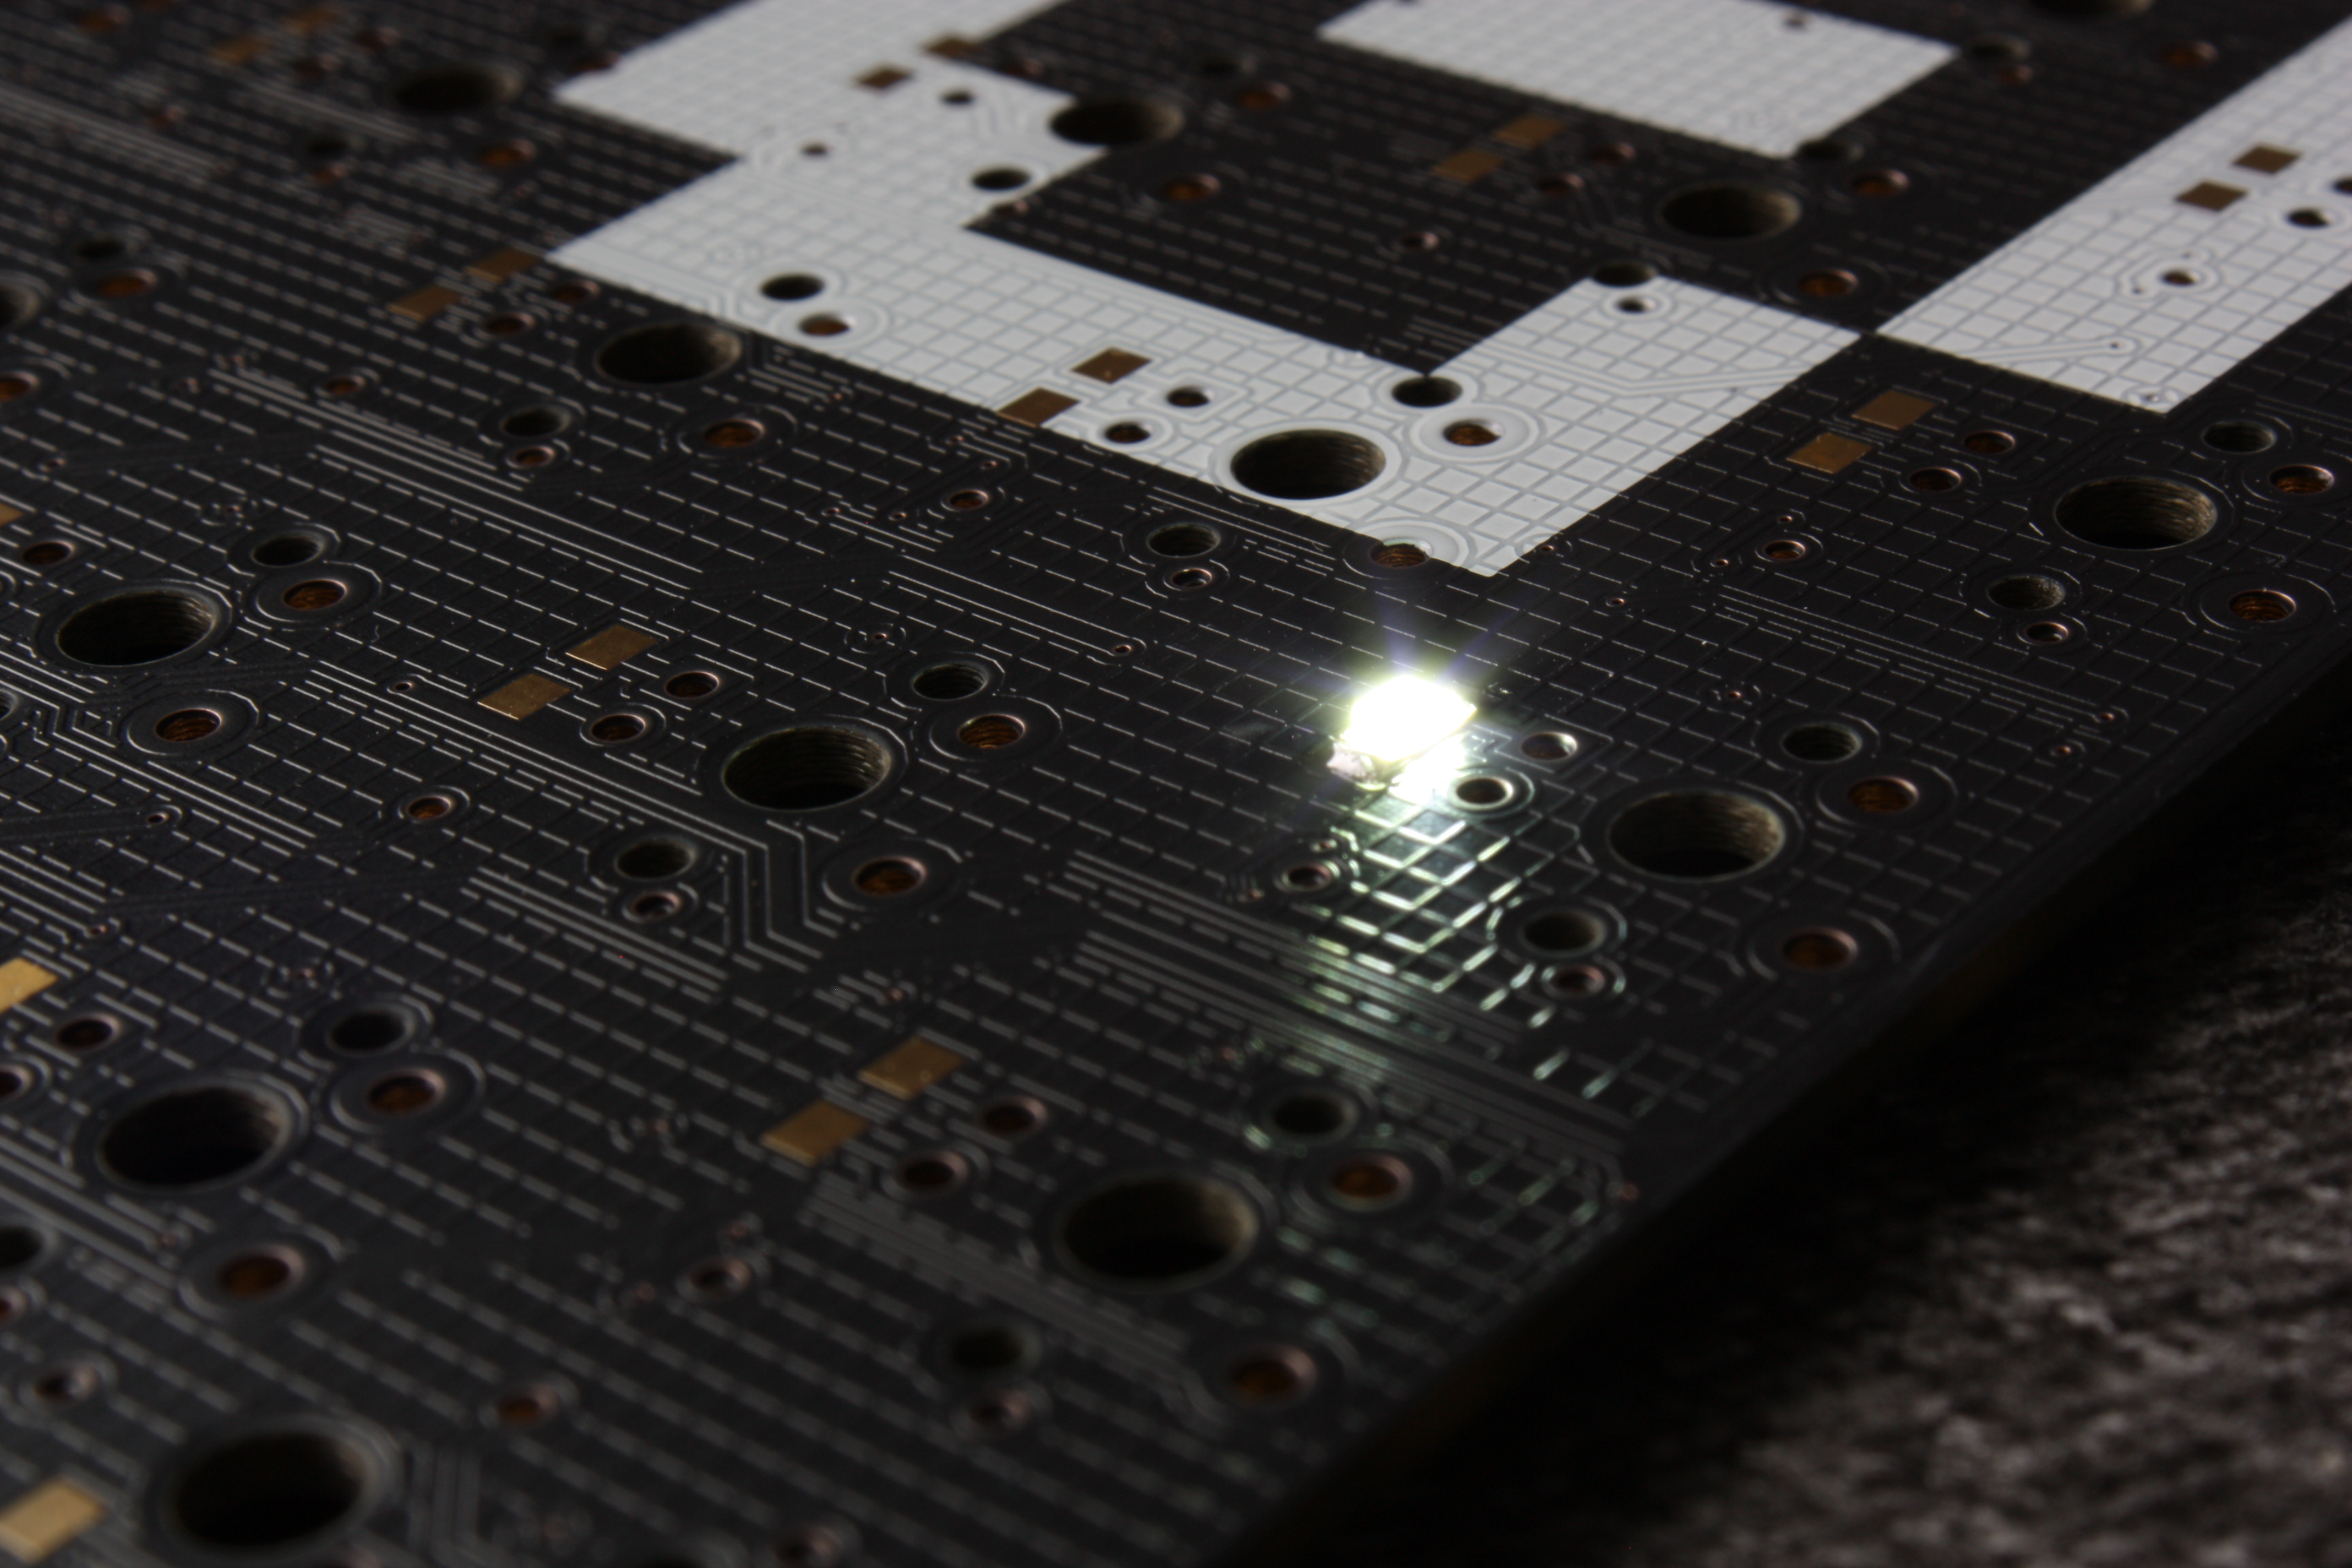
The simple paint by numbers part of this build was probably the keyboard. Given I had bought all the components from 1up keyboards including the carbon fibre case, PCB, key switches and LEDS. Below are some shots of the 60% PCB used.
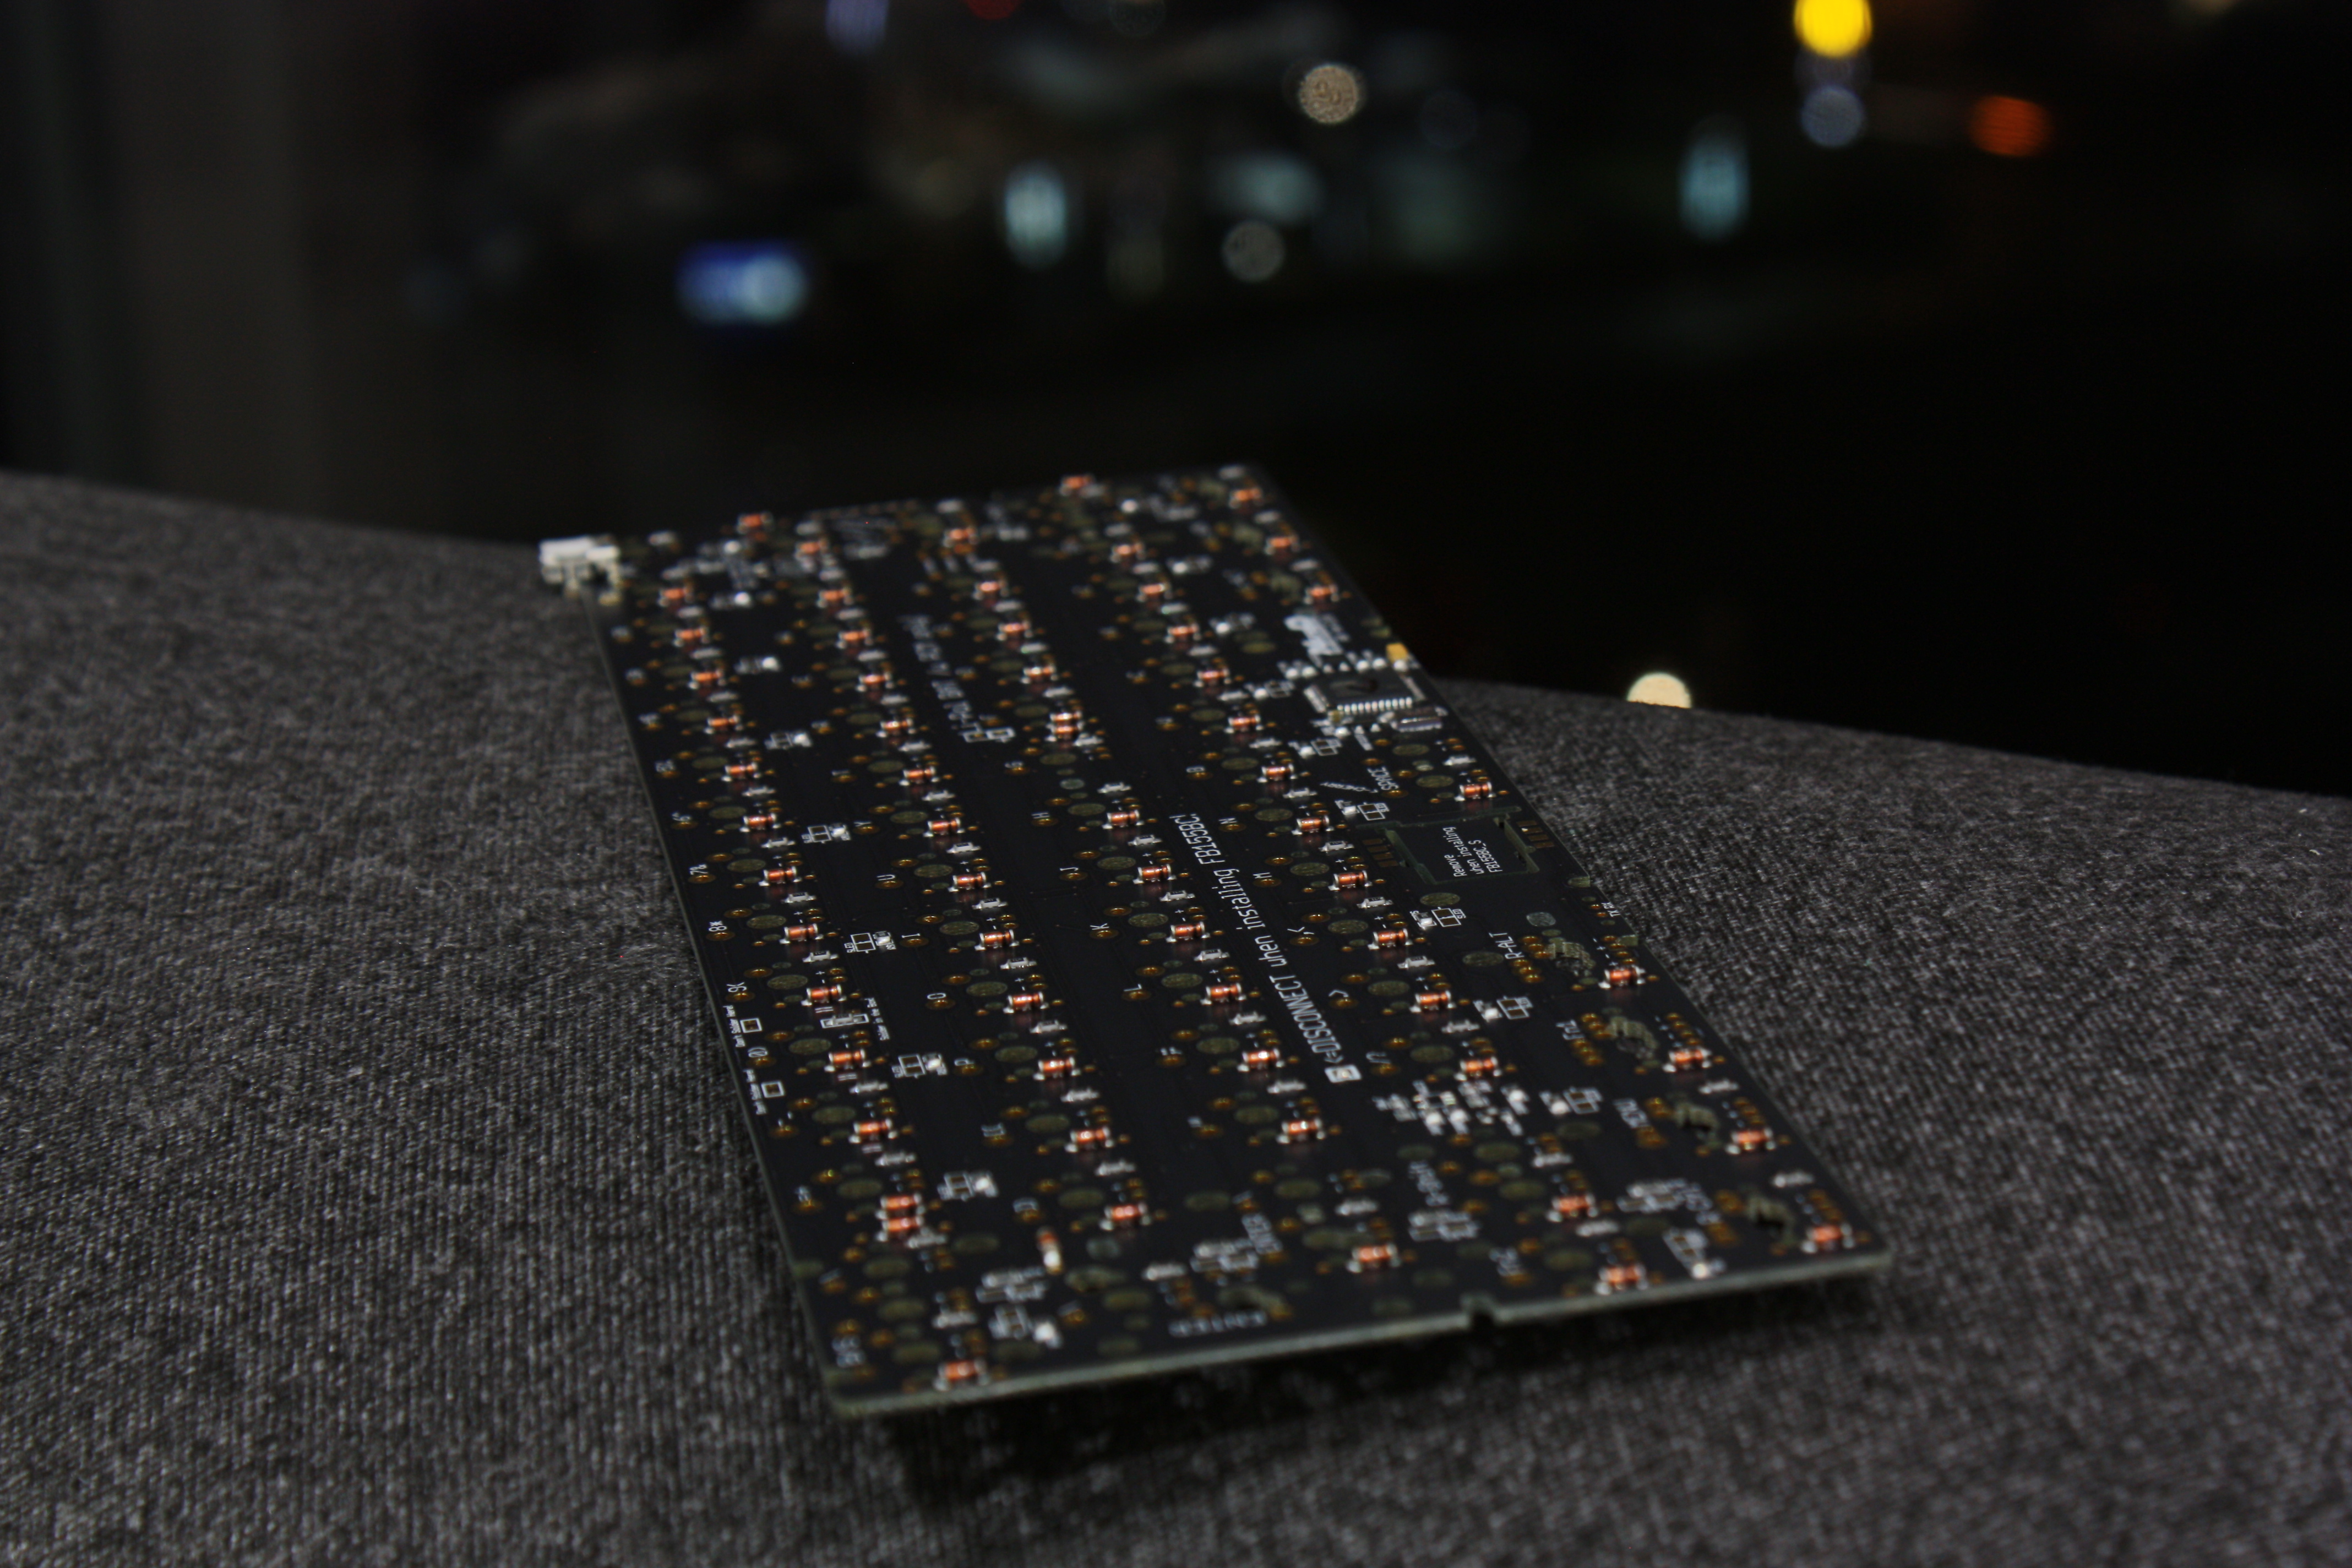
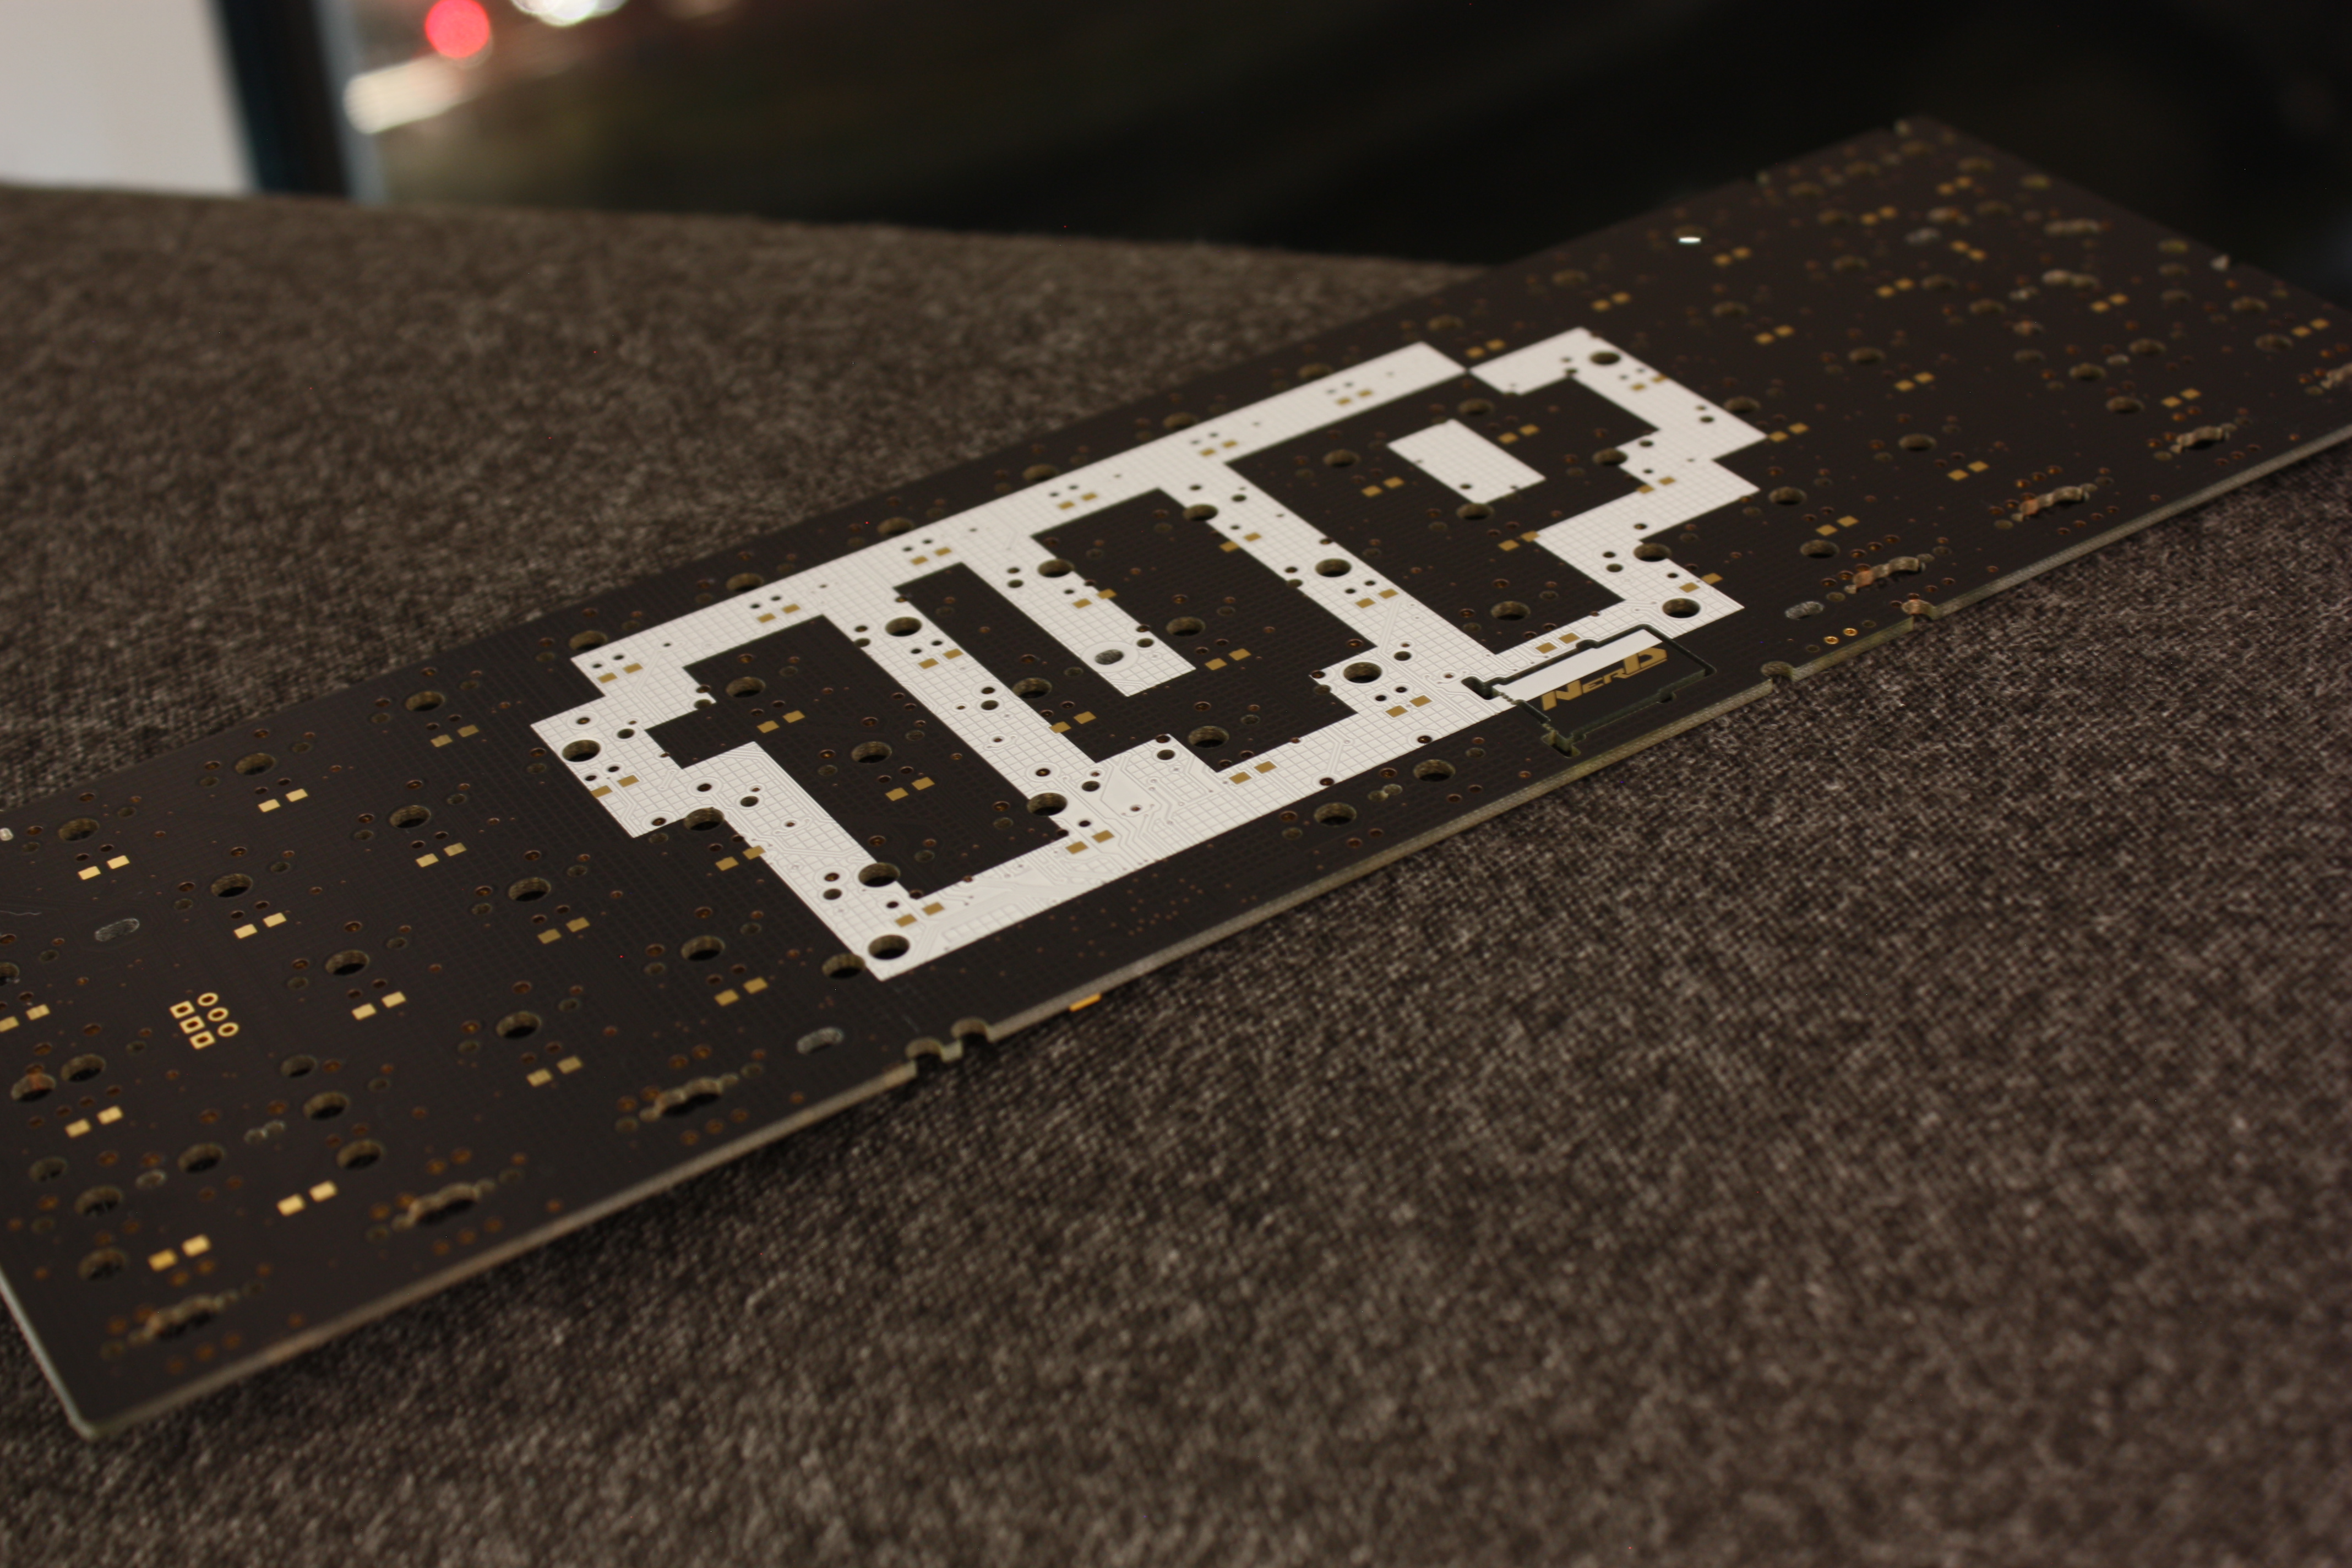
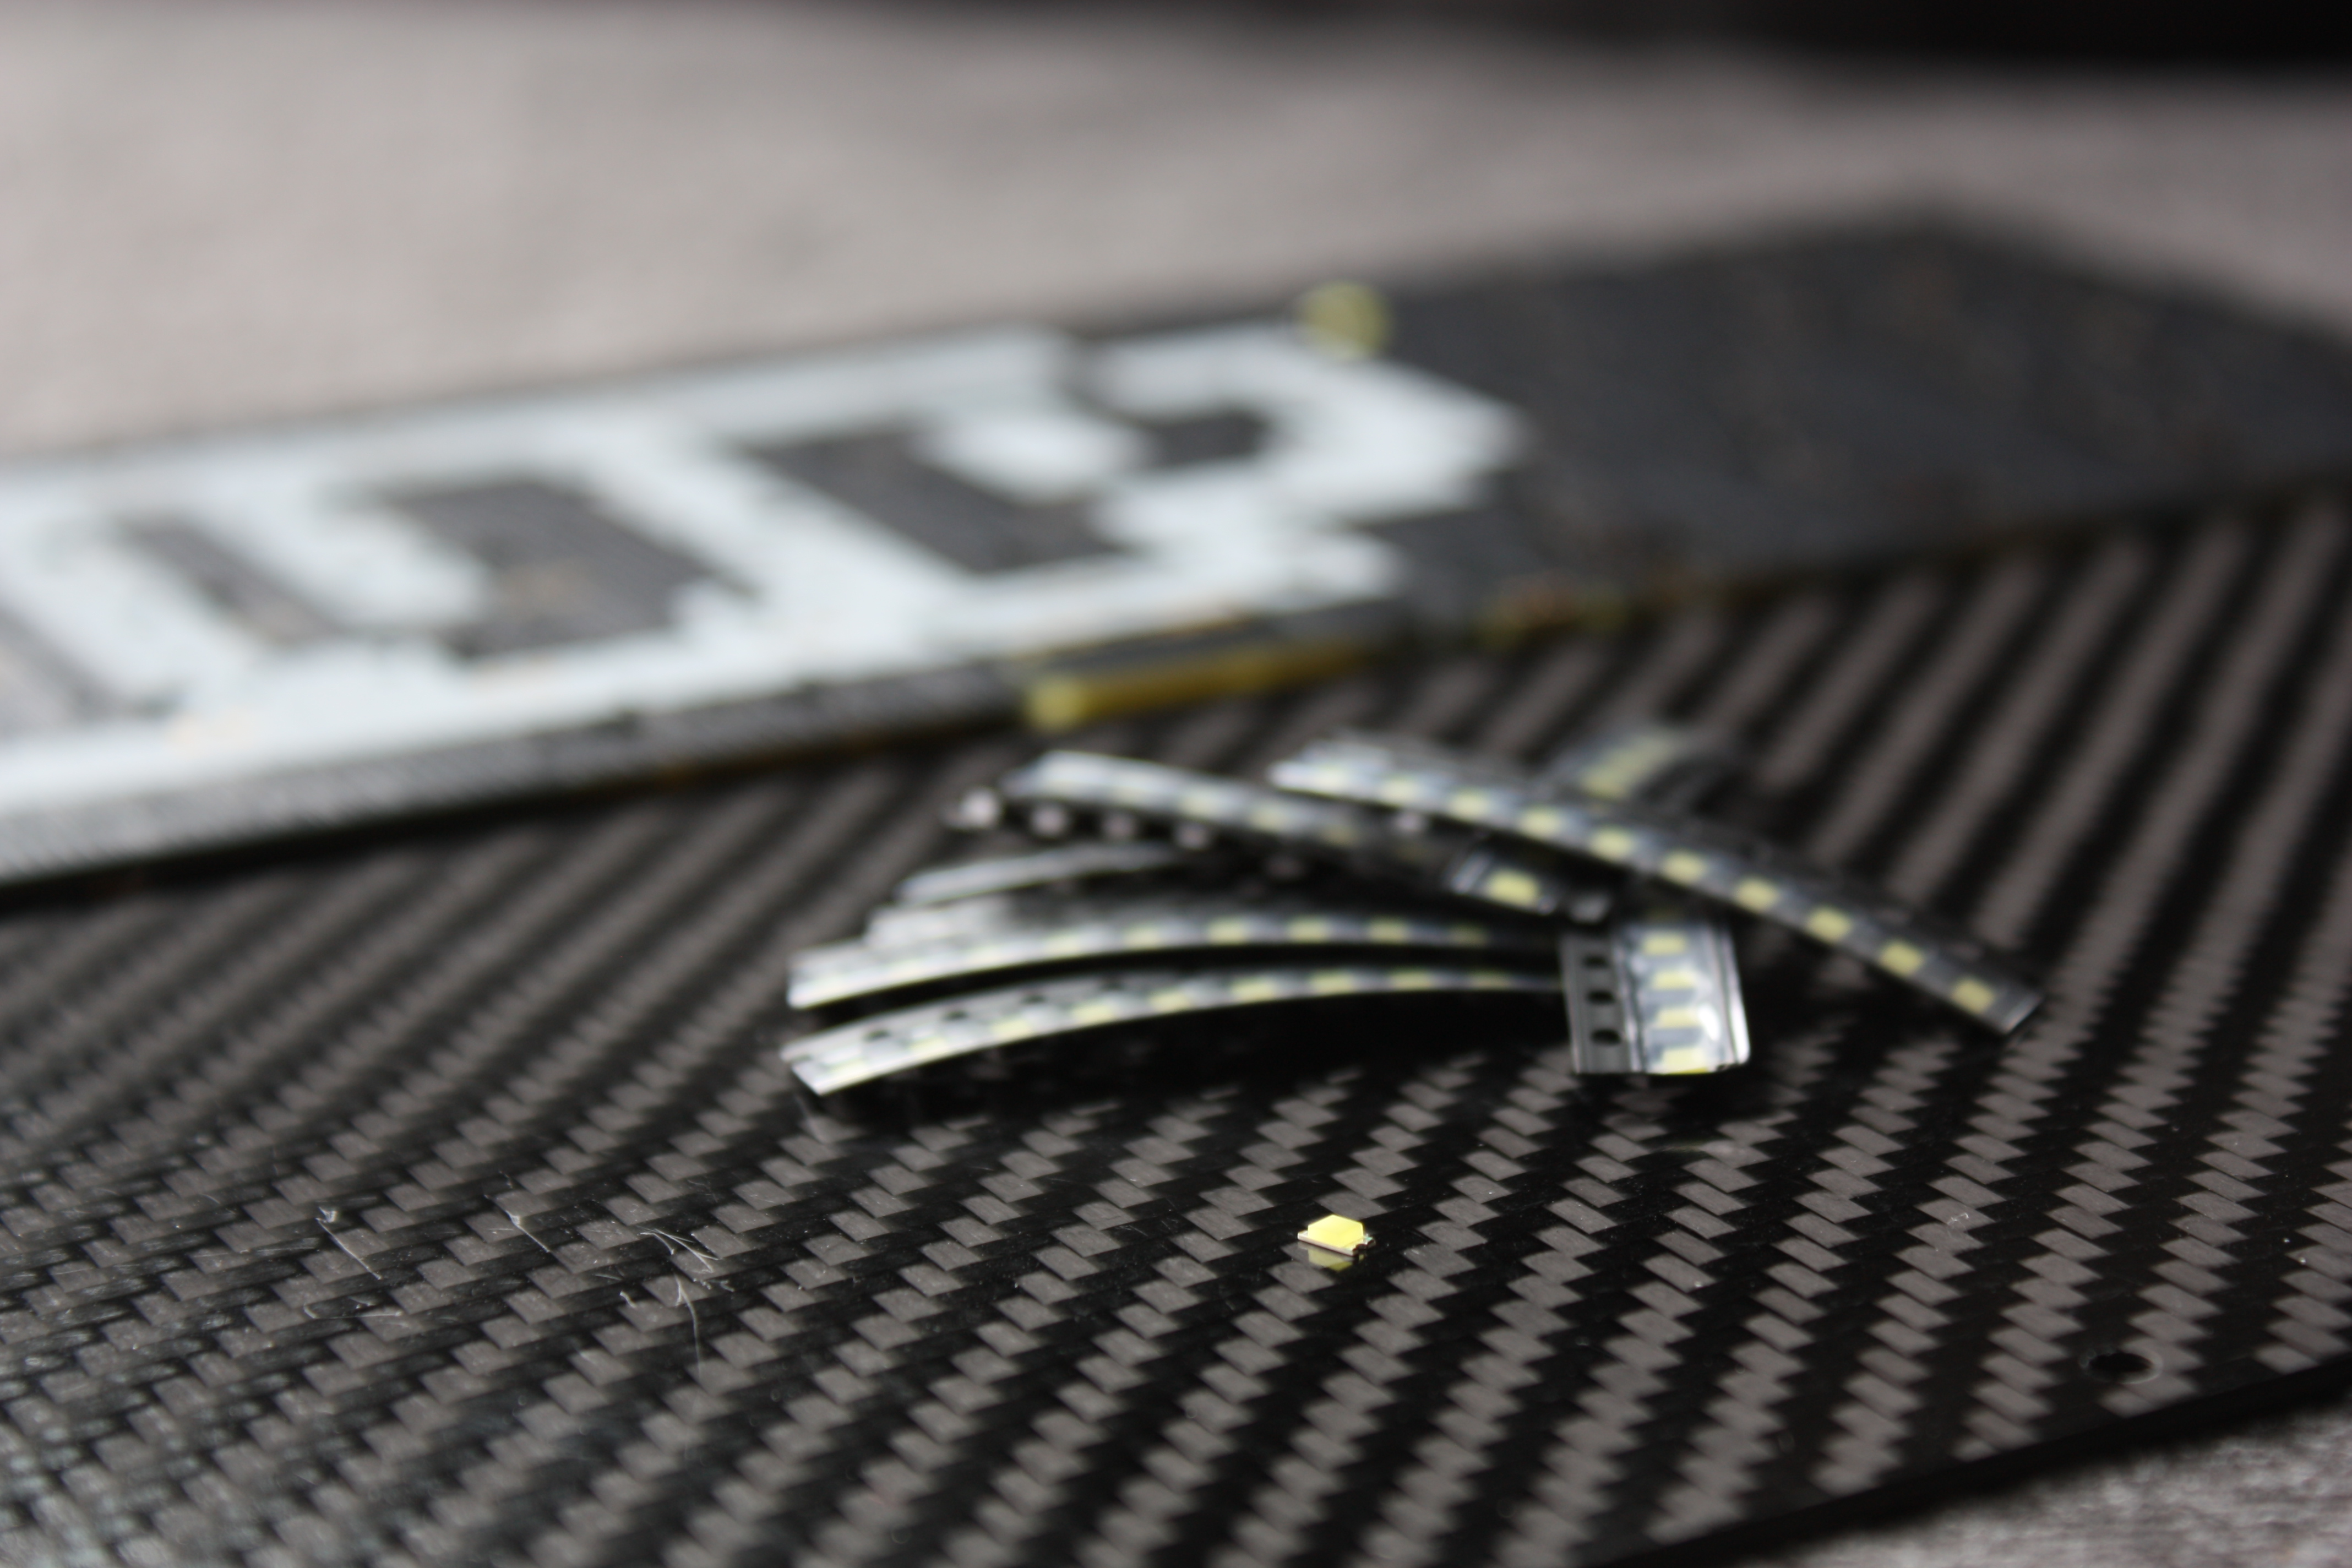
This PCB used small surface mount LEDs so these had to be manually soldered onto the board. Unfortunately I don’t have any type of hotplate to make this process easier, however these components are still large enough that with a little care I was able to hand solder them all.
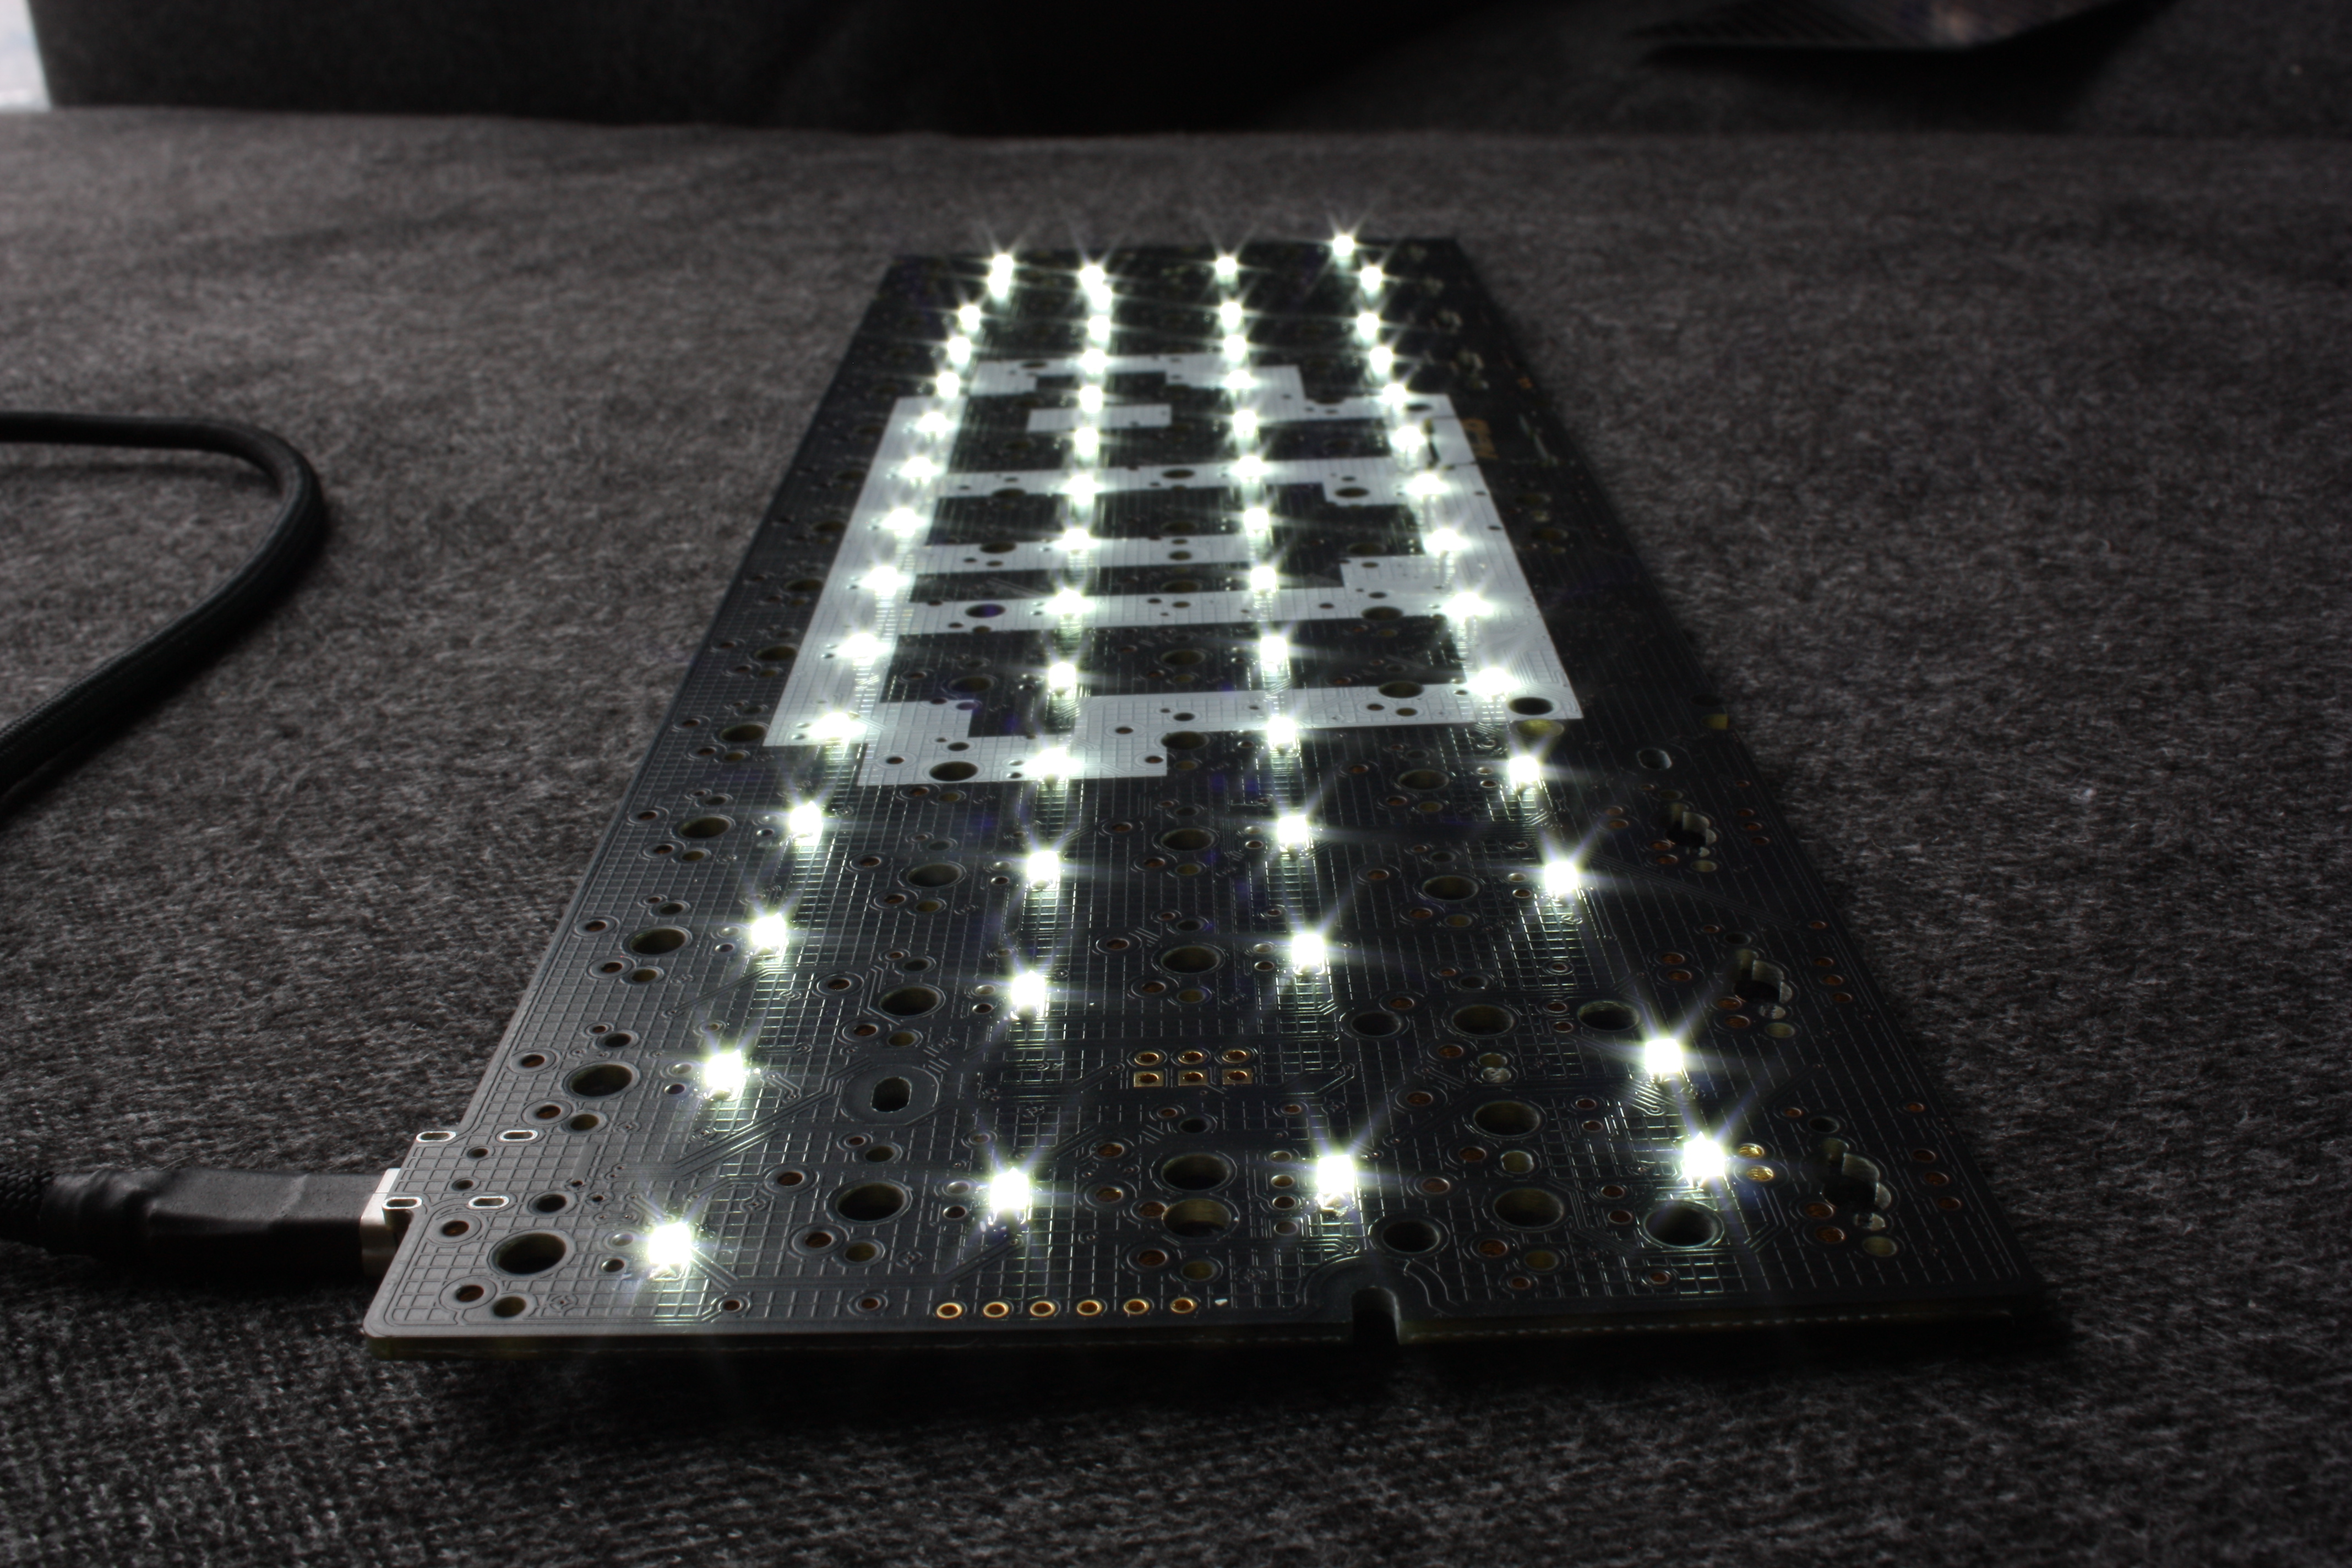
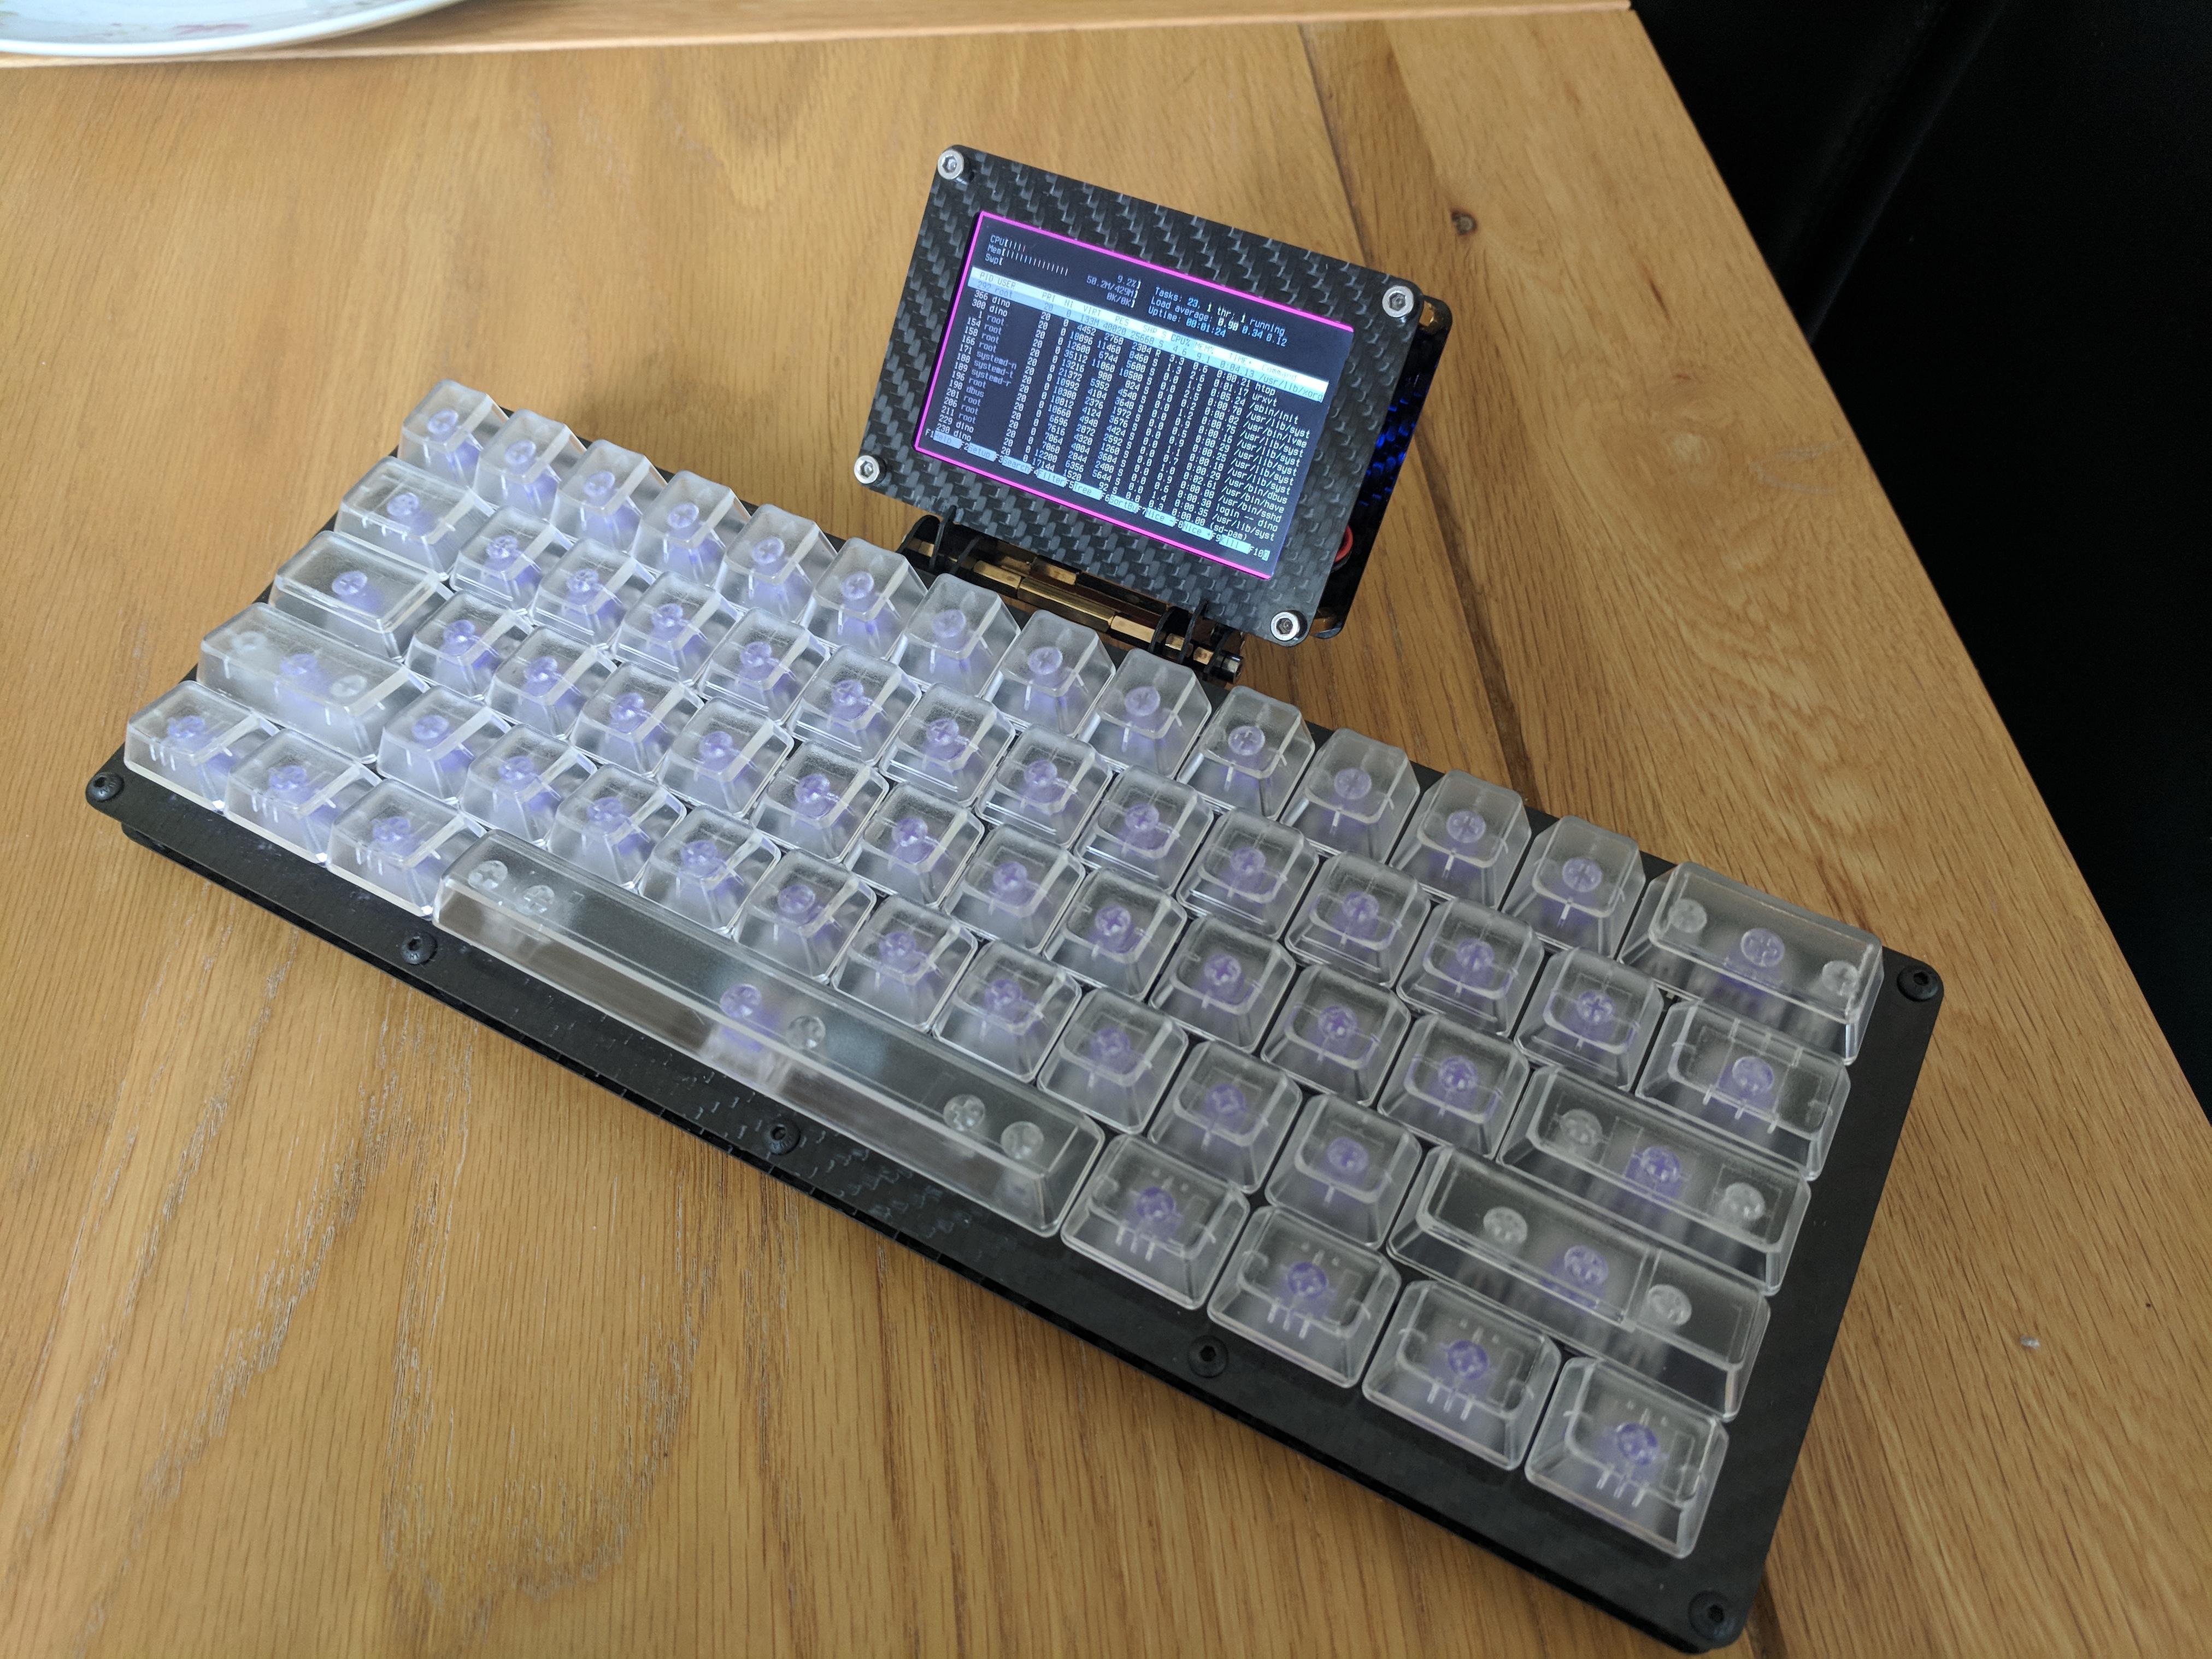
After mounting the LEDs it was just a case of soldering the key switches and bolting together the two carbon fibre plates. The final keyboard completed can be seen below.
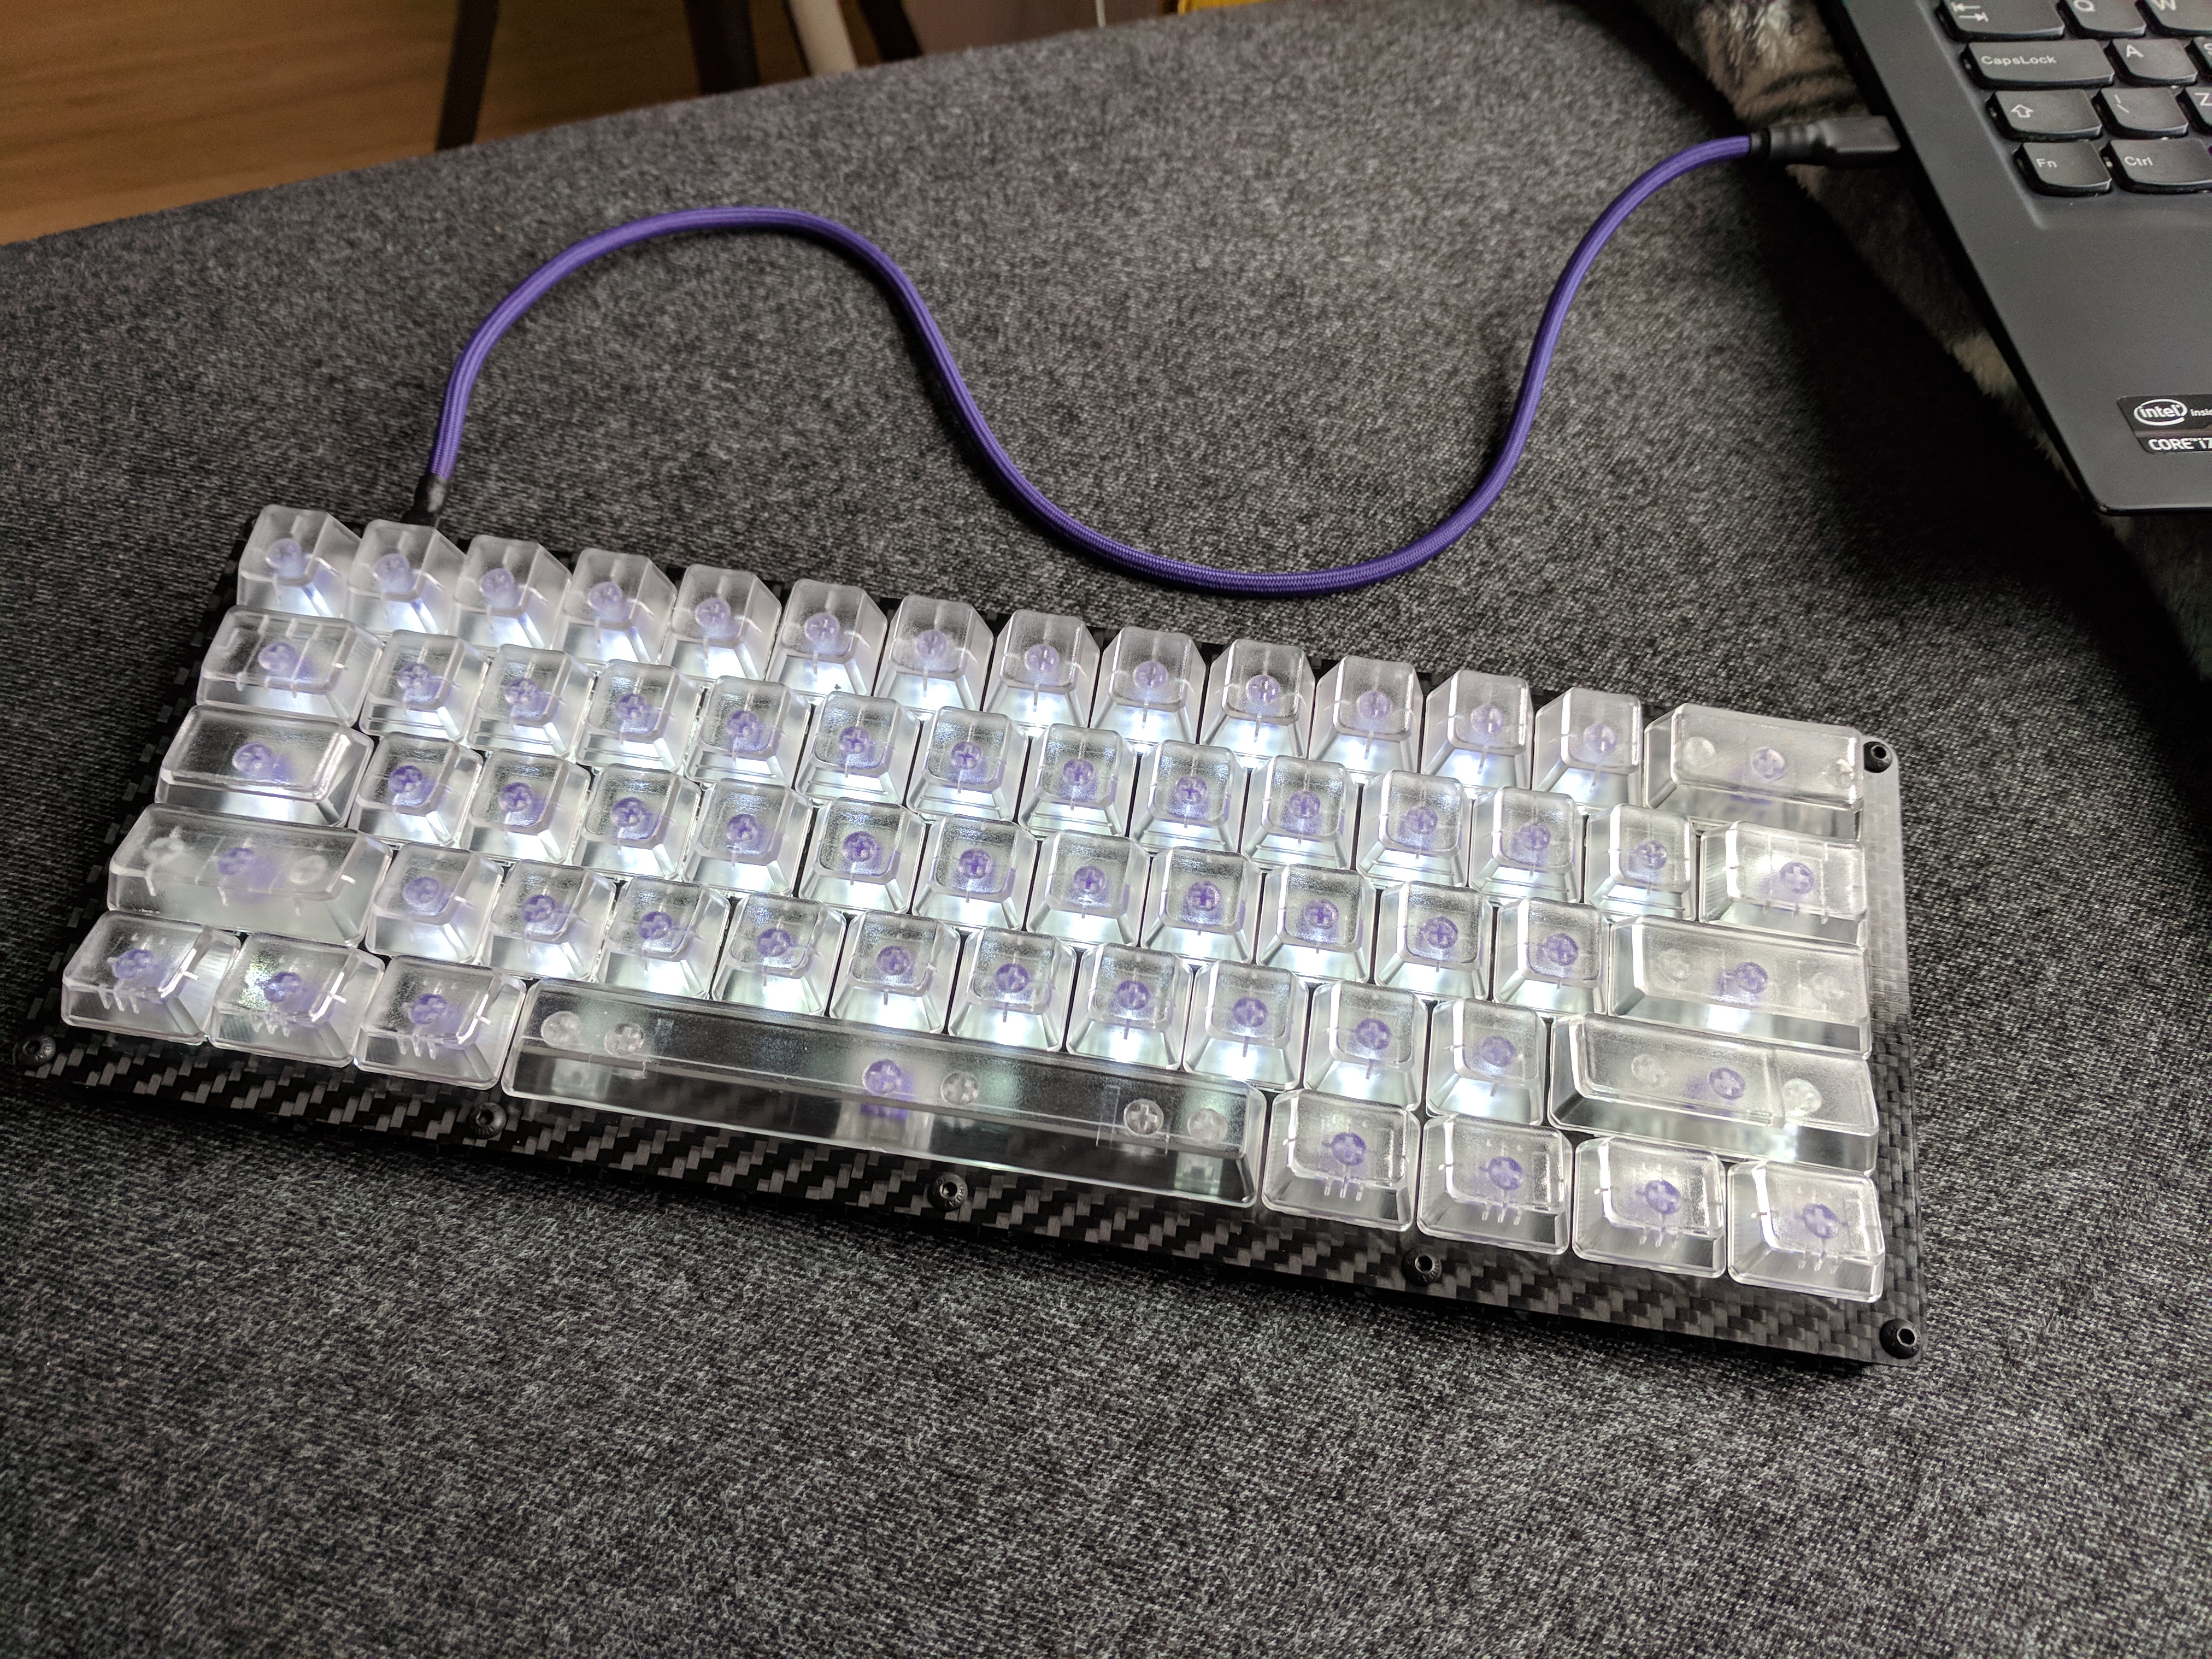
This ended up being a pretty nice keyboard, I am a fan of the Zelios switches used in this build and have since built a few more keyboards using them. They have a good balance between smoothness and tactile feel.
Pi Build
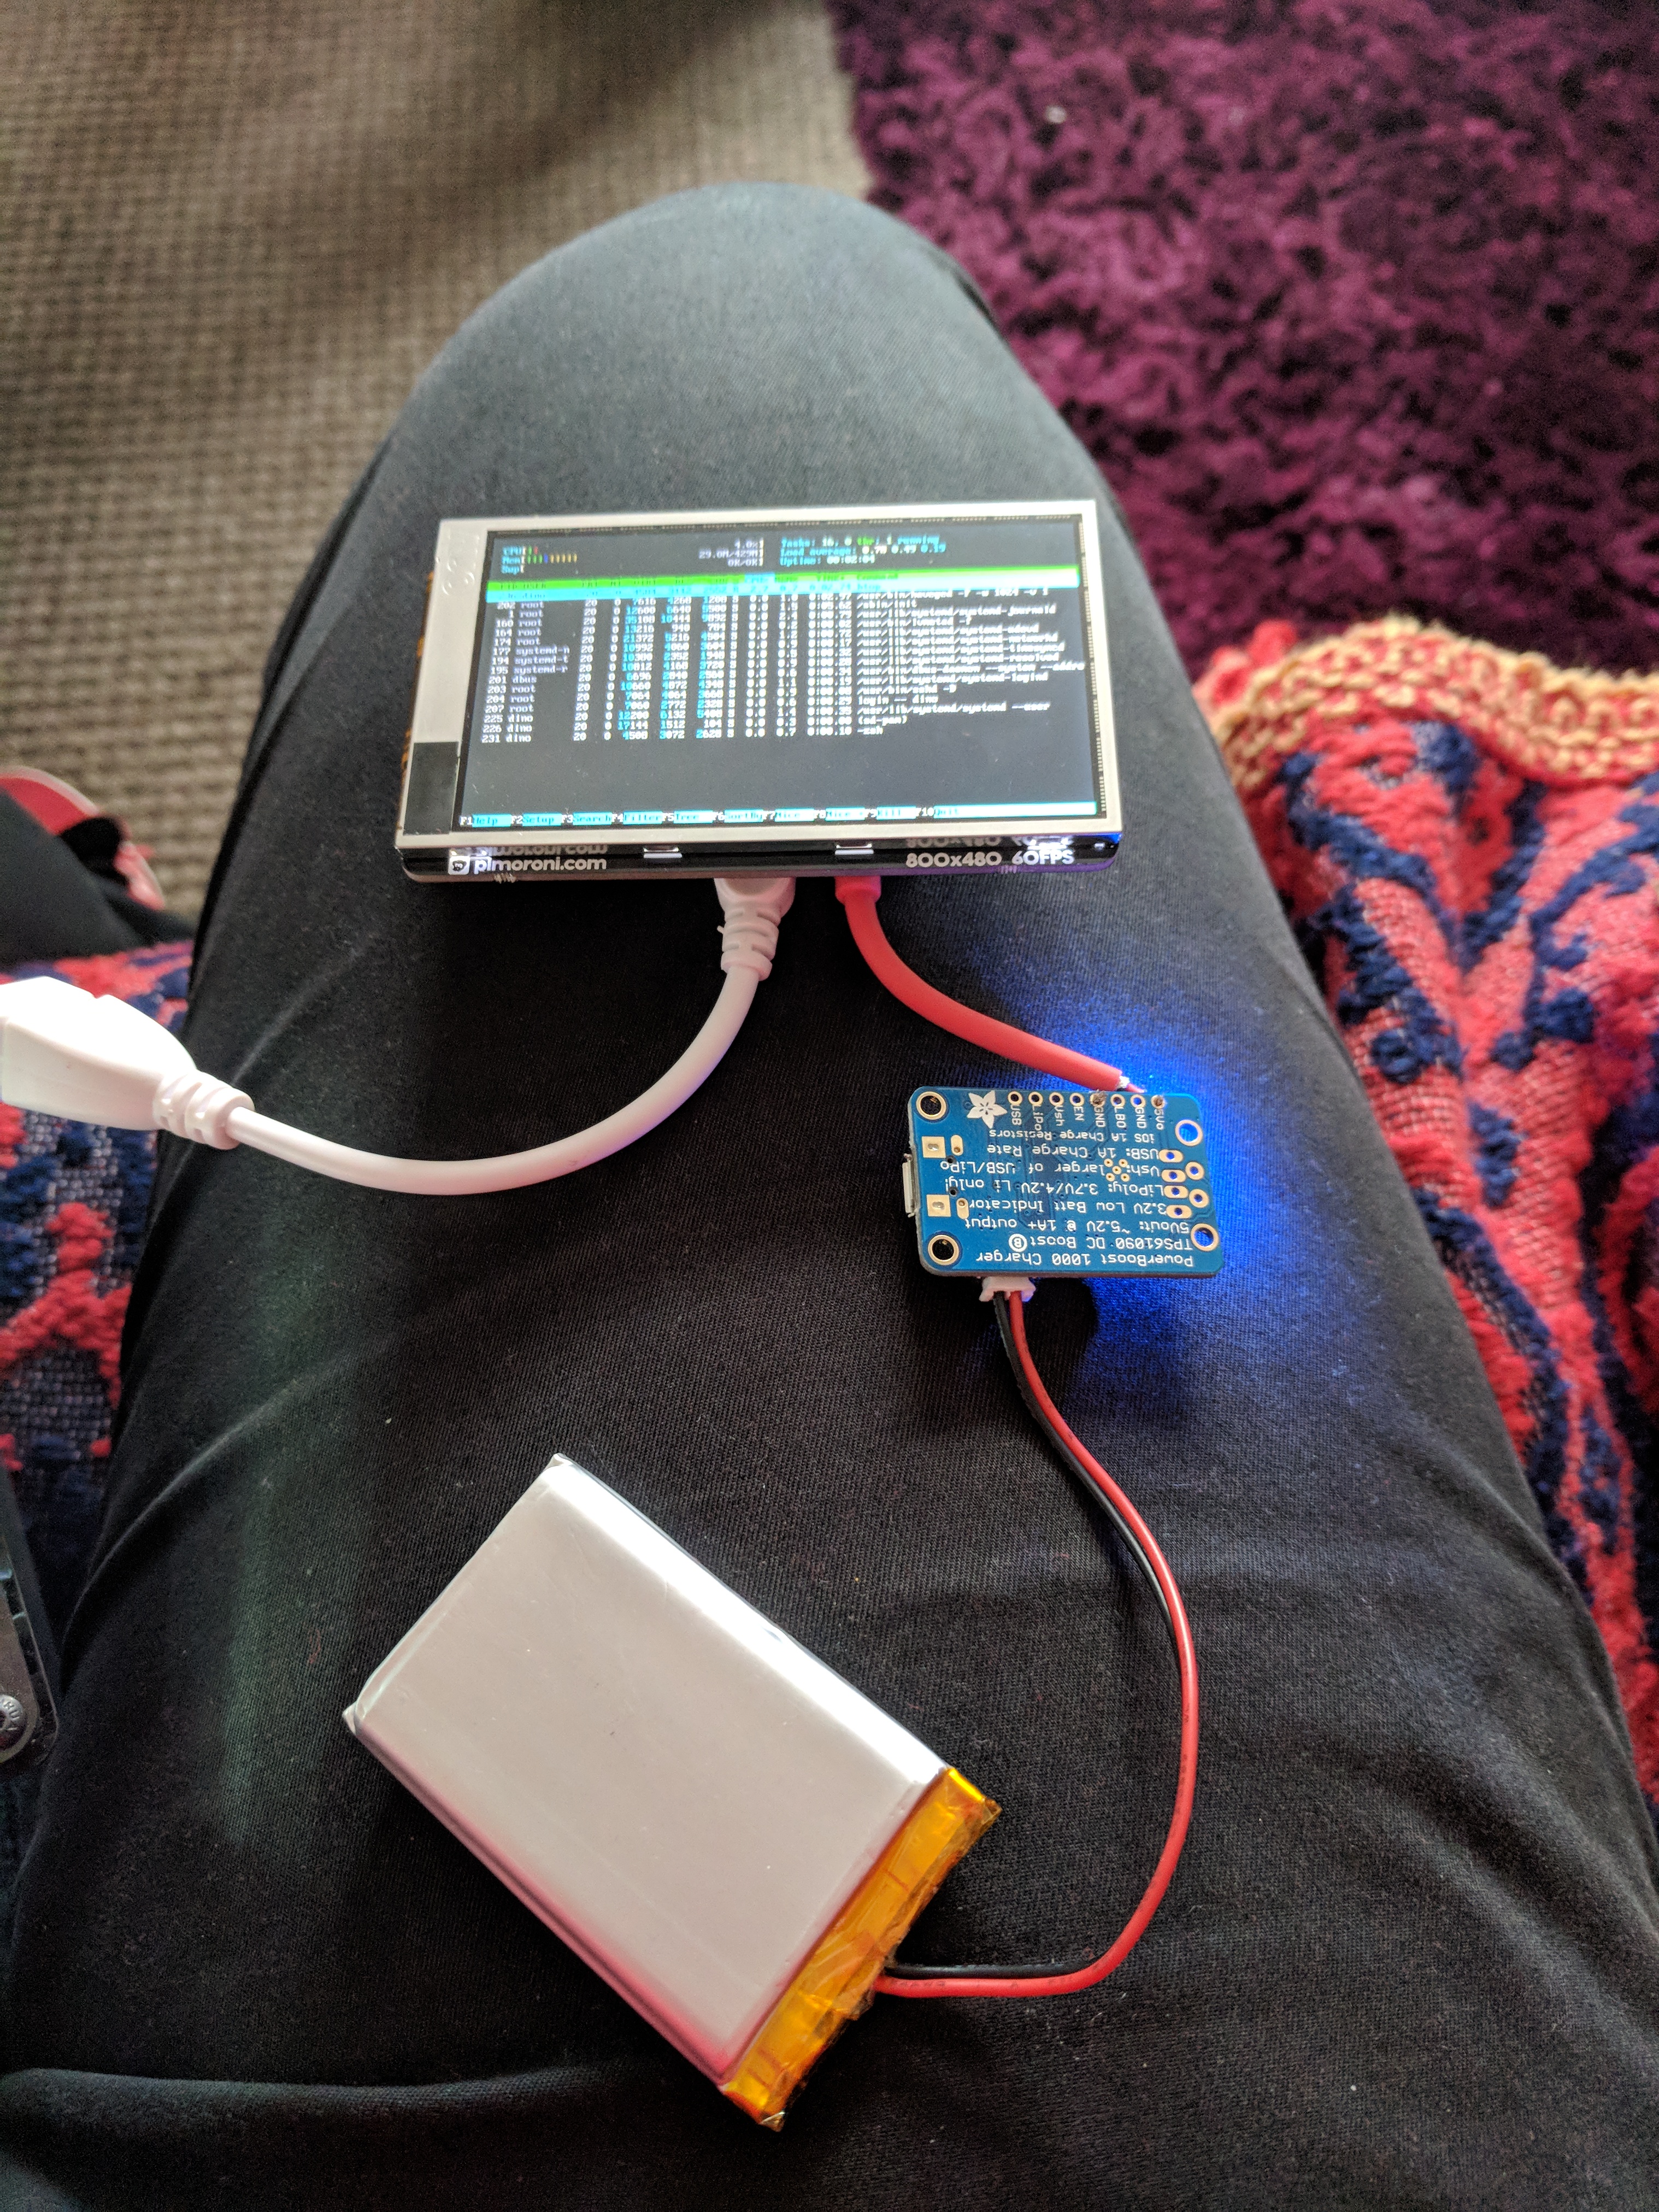
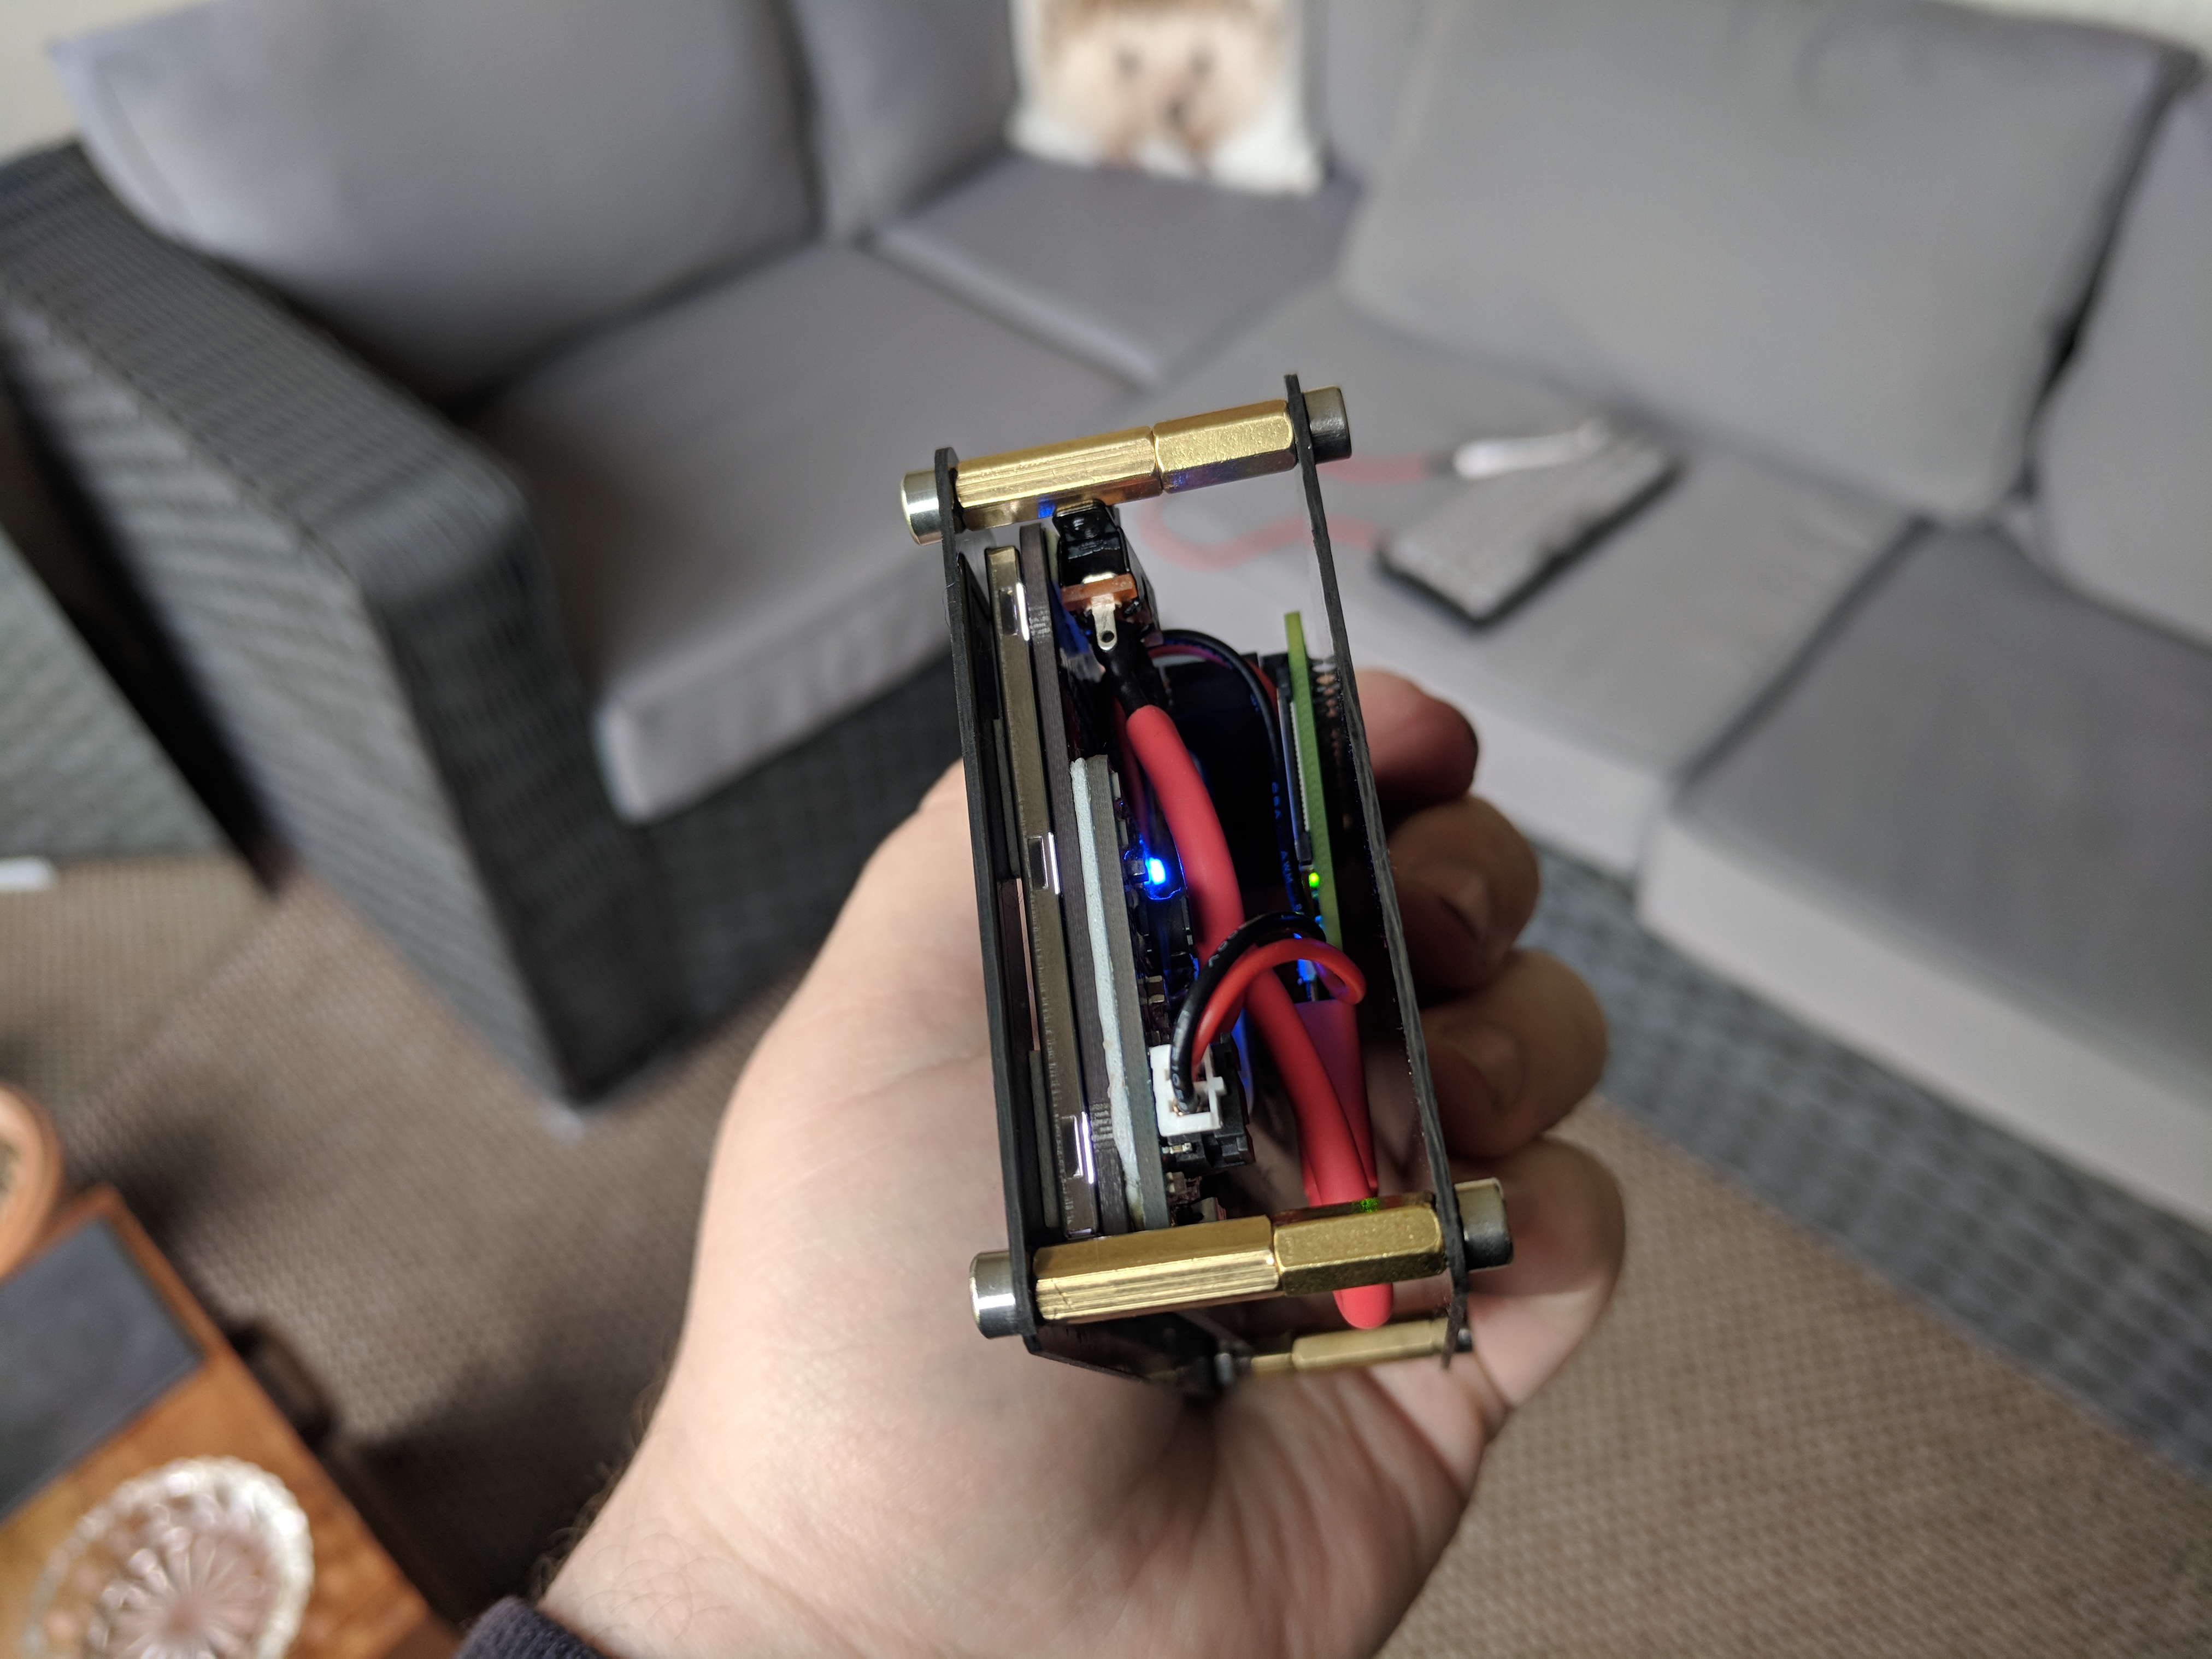
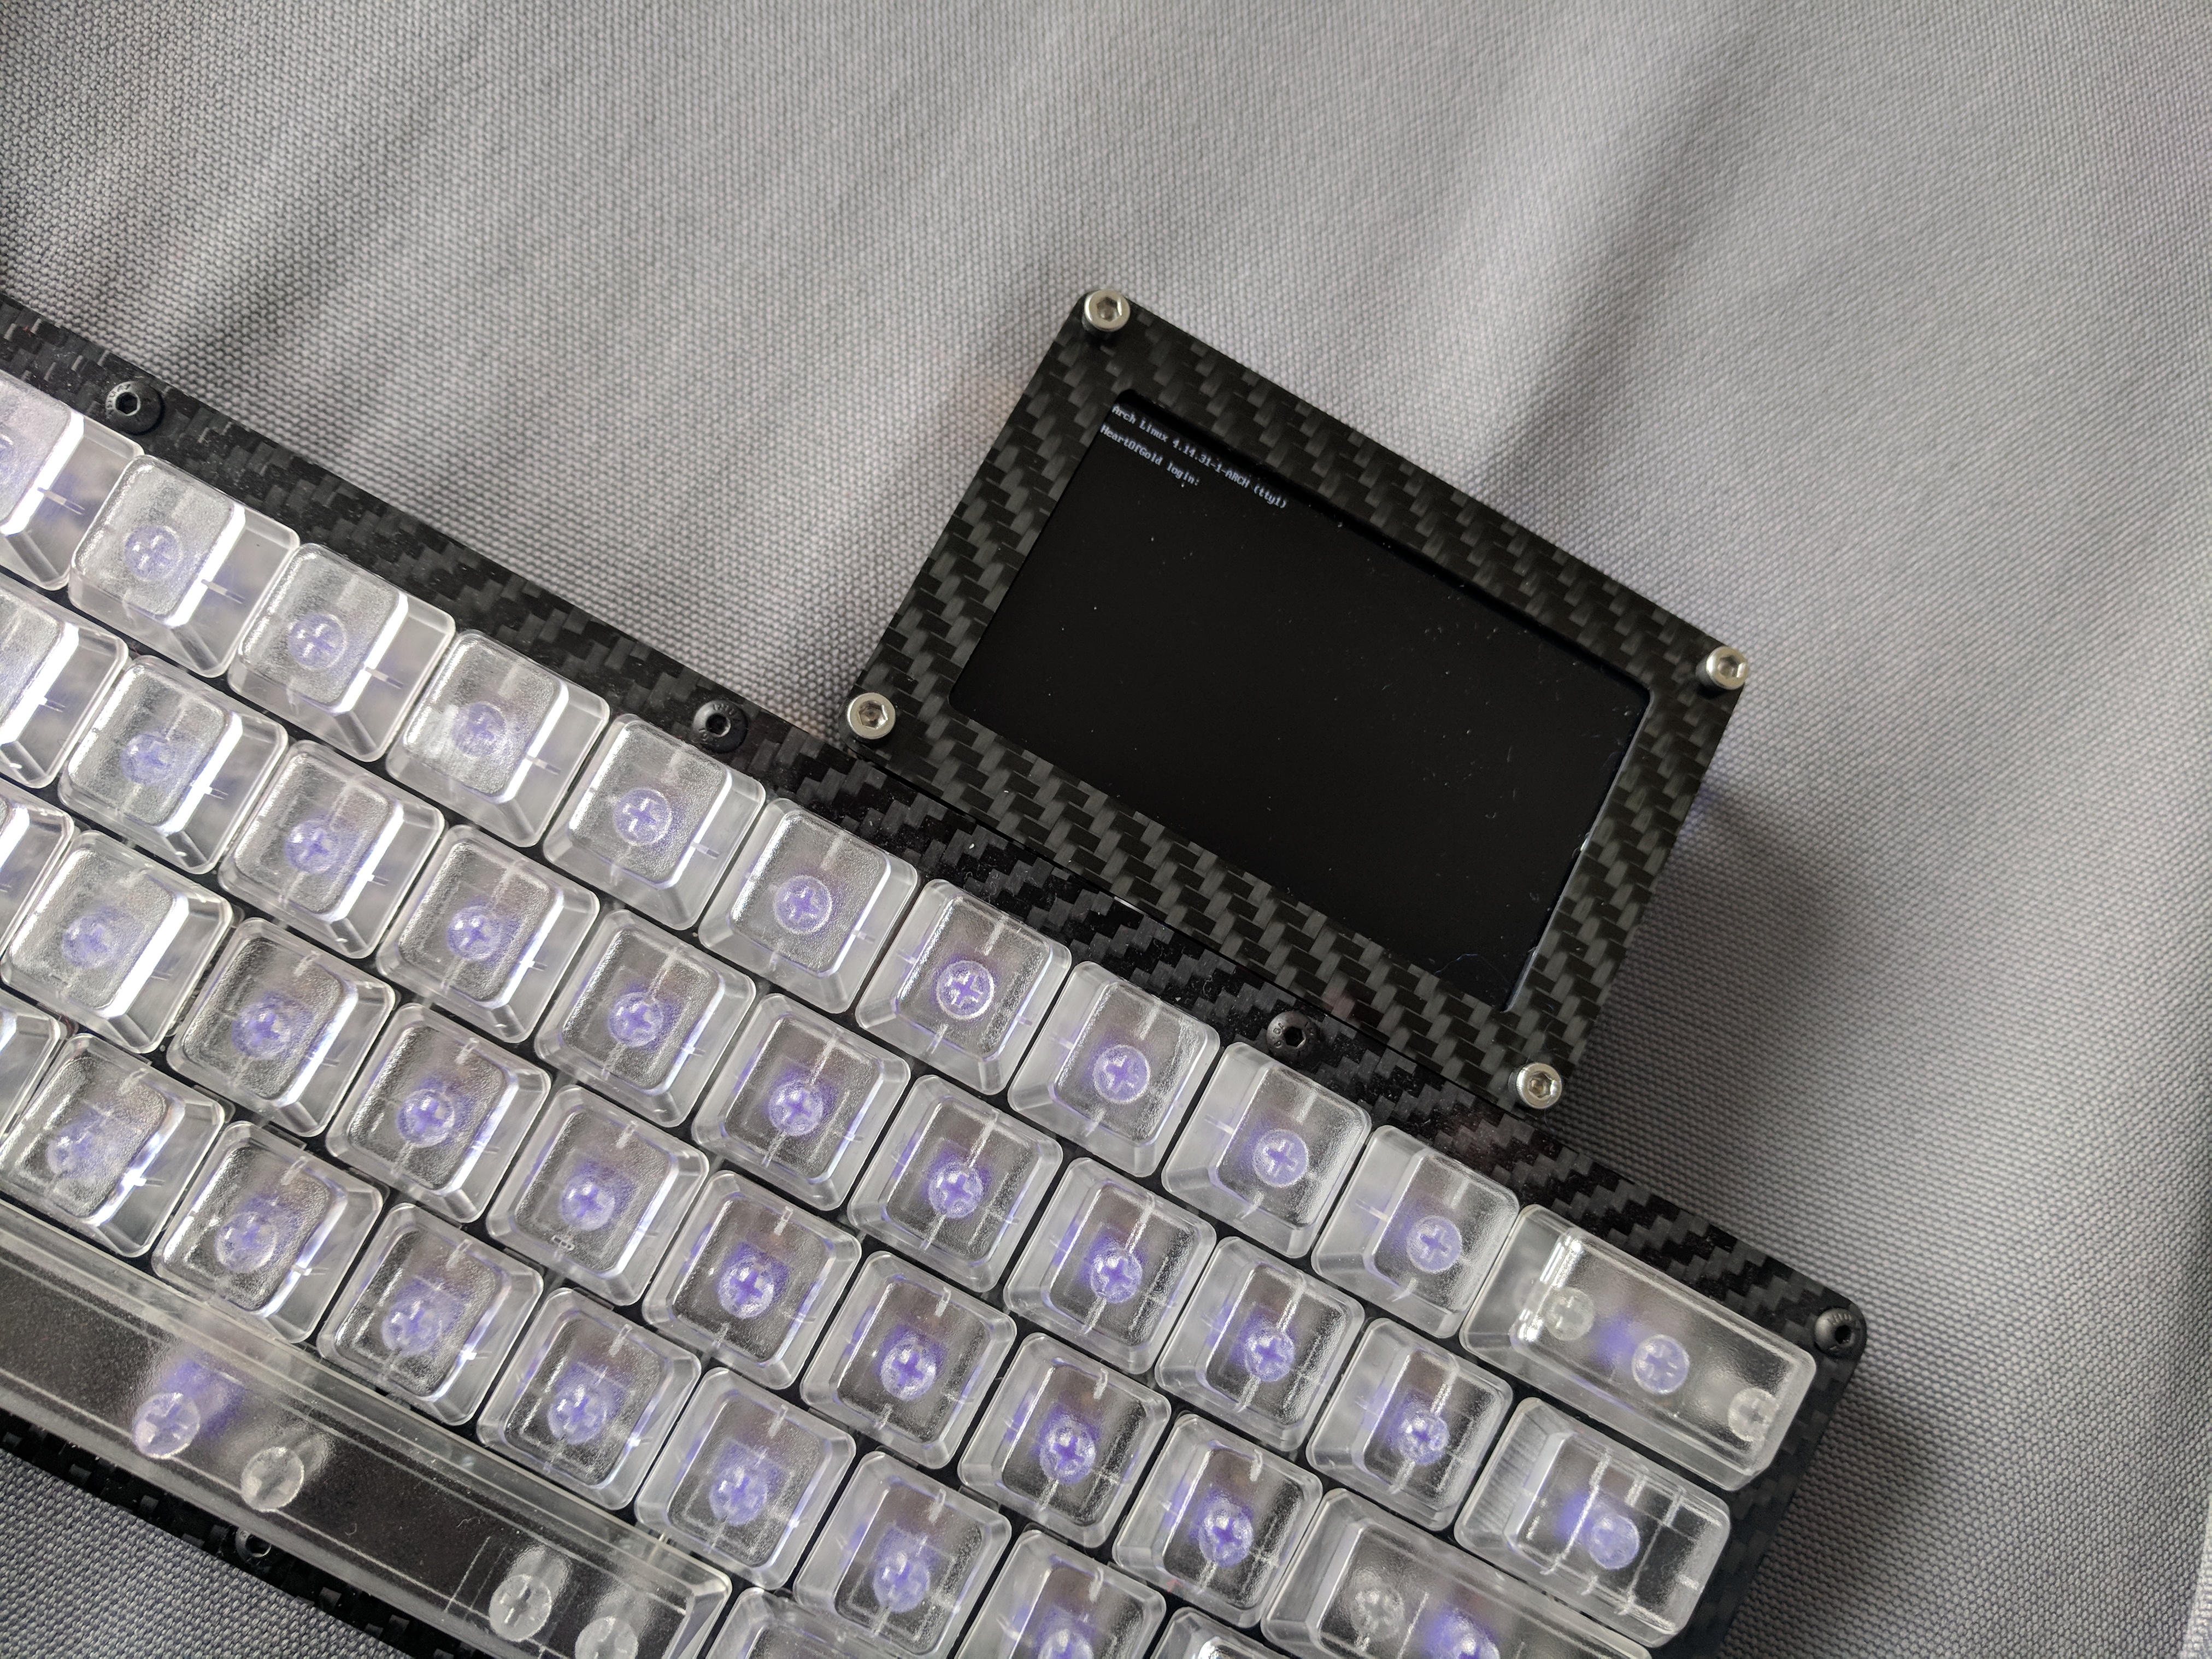
Similar to the keyboard build this setup was pretty easy to just buy of the shelf components and connect them together. Below you can see that I used a pretty nice of the shelf display for raspberry Pis along with a powerboost that allow for connection of a lithium ion battery whilst also controlling charging of the battery over USB-c.
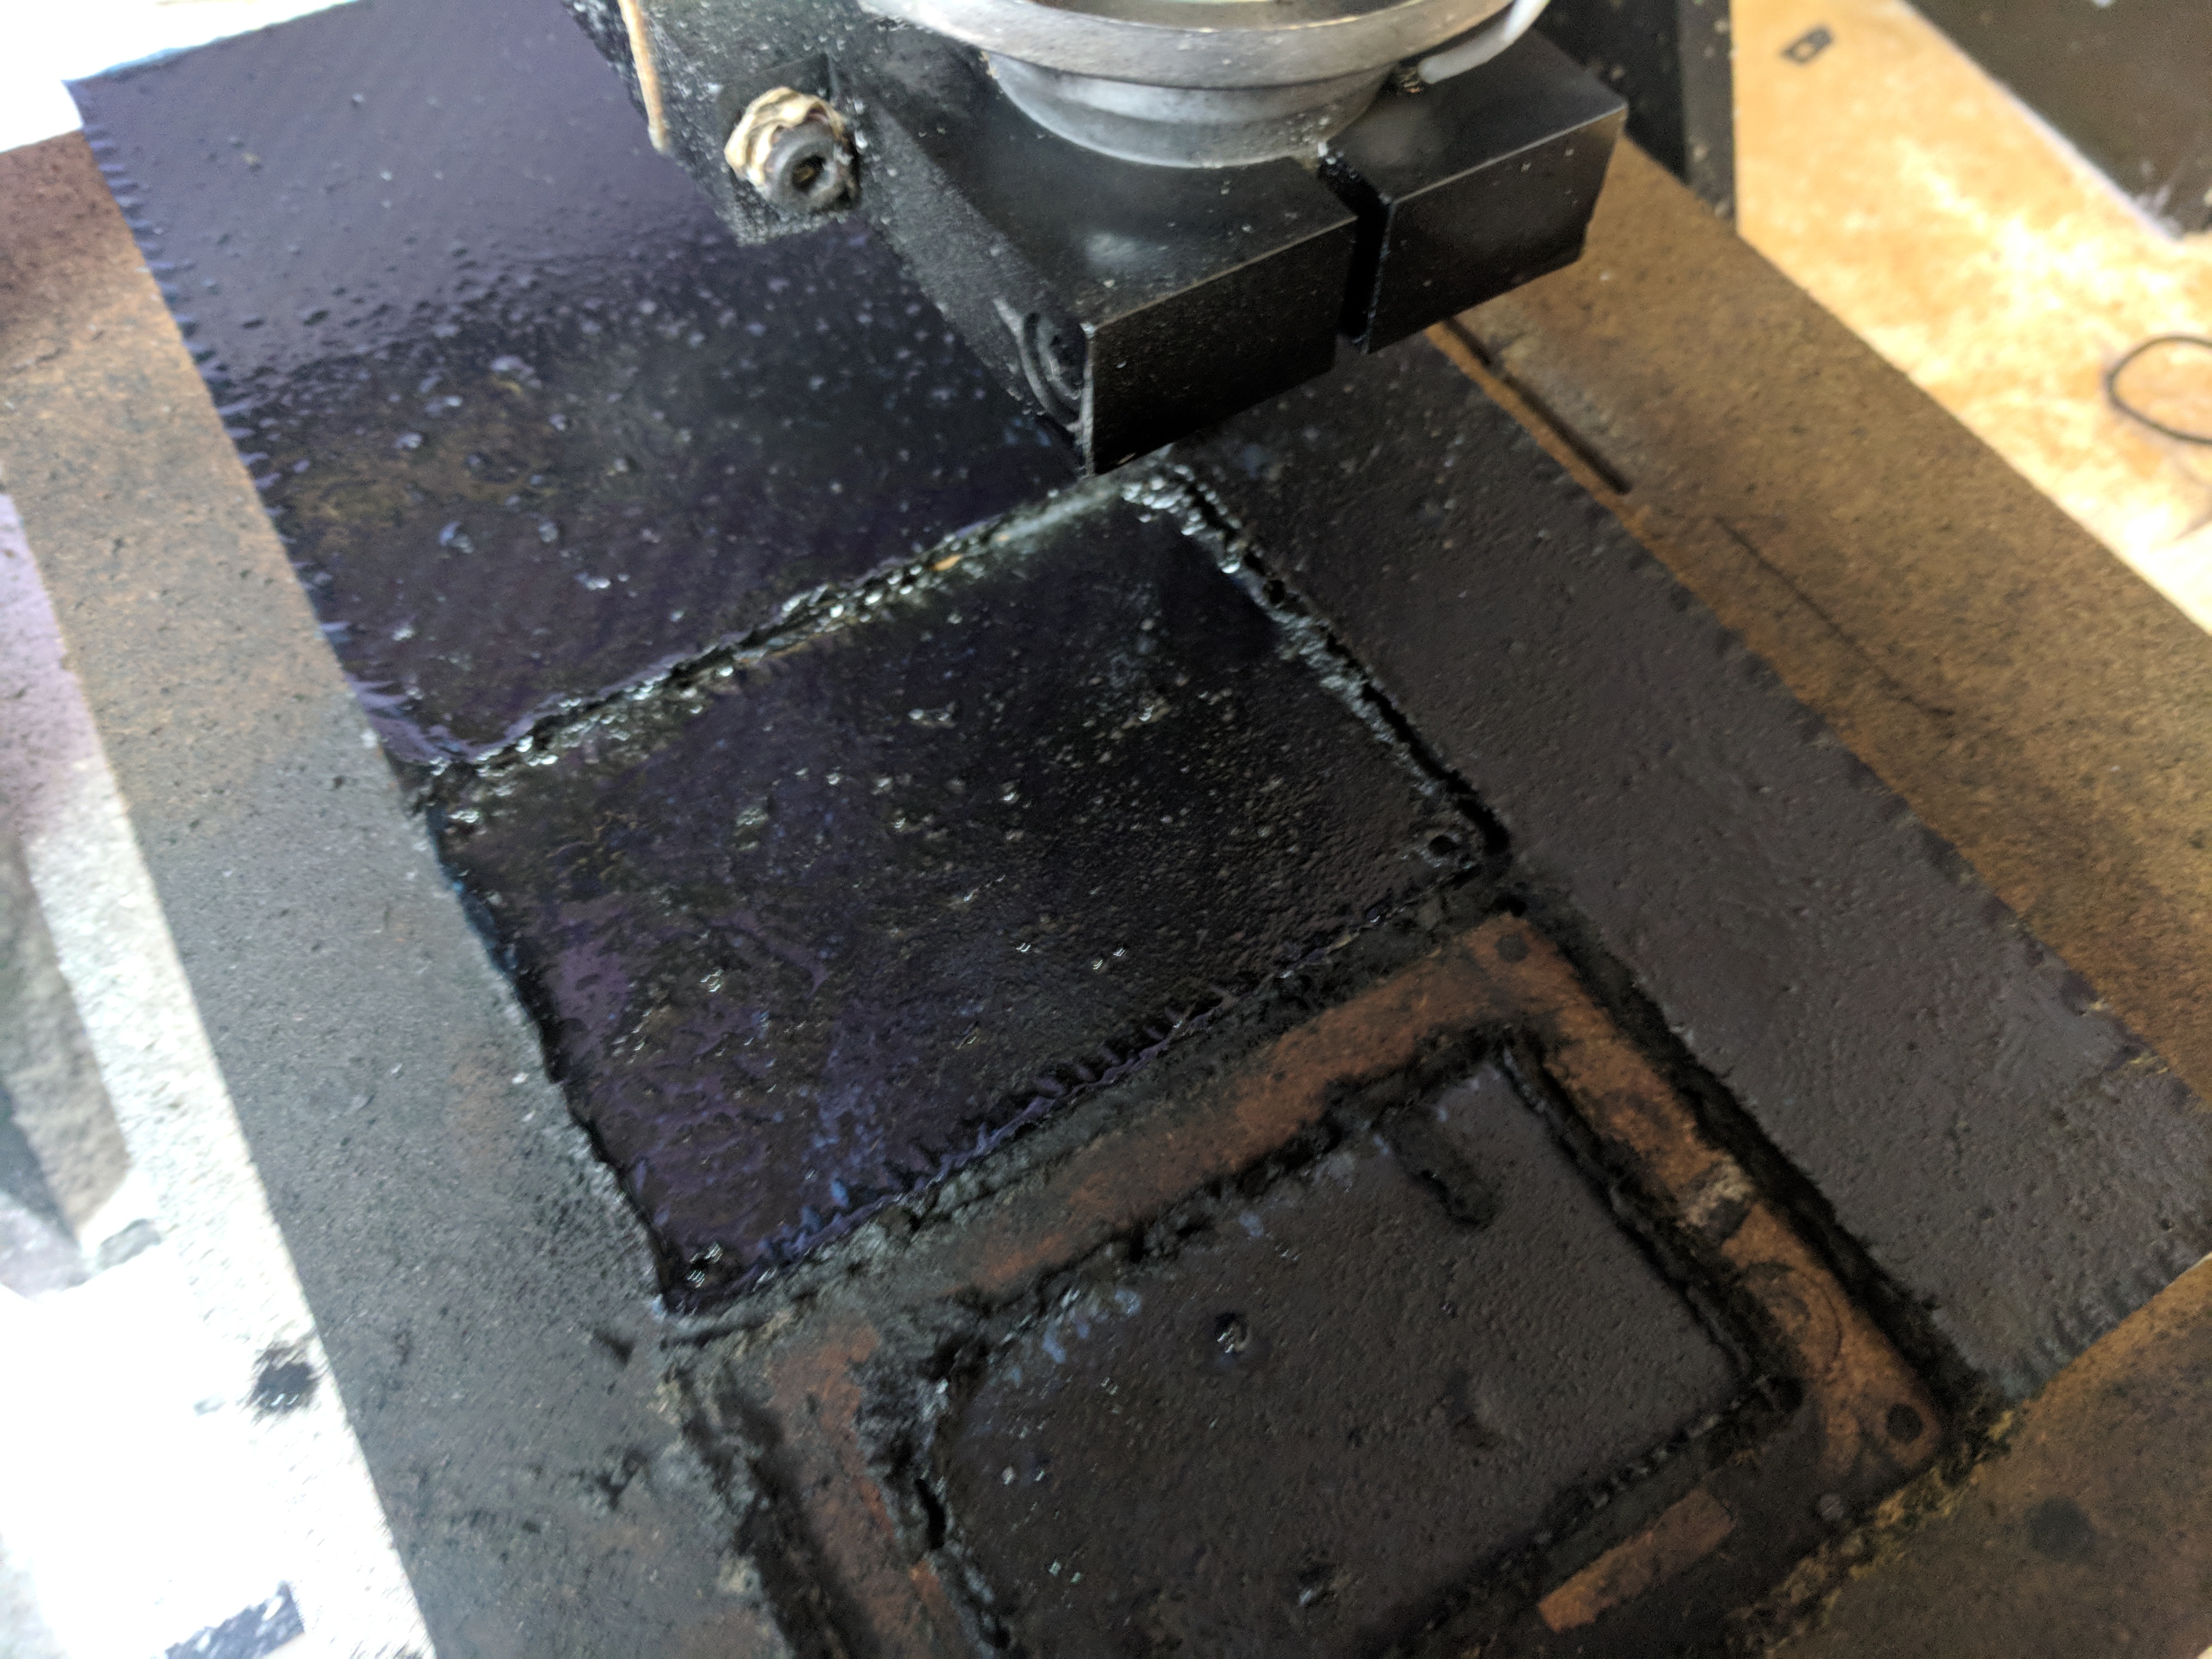
The trickest part would be creating a case to match the keyboard. This meant that I had to CNC route carbon fibre. I got some smallish sheets of carbon fibre that I could route on my desktop CNC router. The worst part of cutting carbon fibre is how quickly it can dull the routing bit along with the poor finish you can get when this happens. In order to combat this problem I used lubrication during cutting to help with cooling and try to improve the finish. This did work well although needed a lot of clean up afterwards.
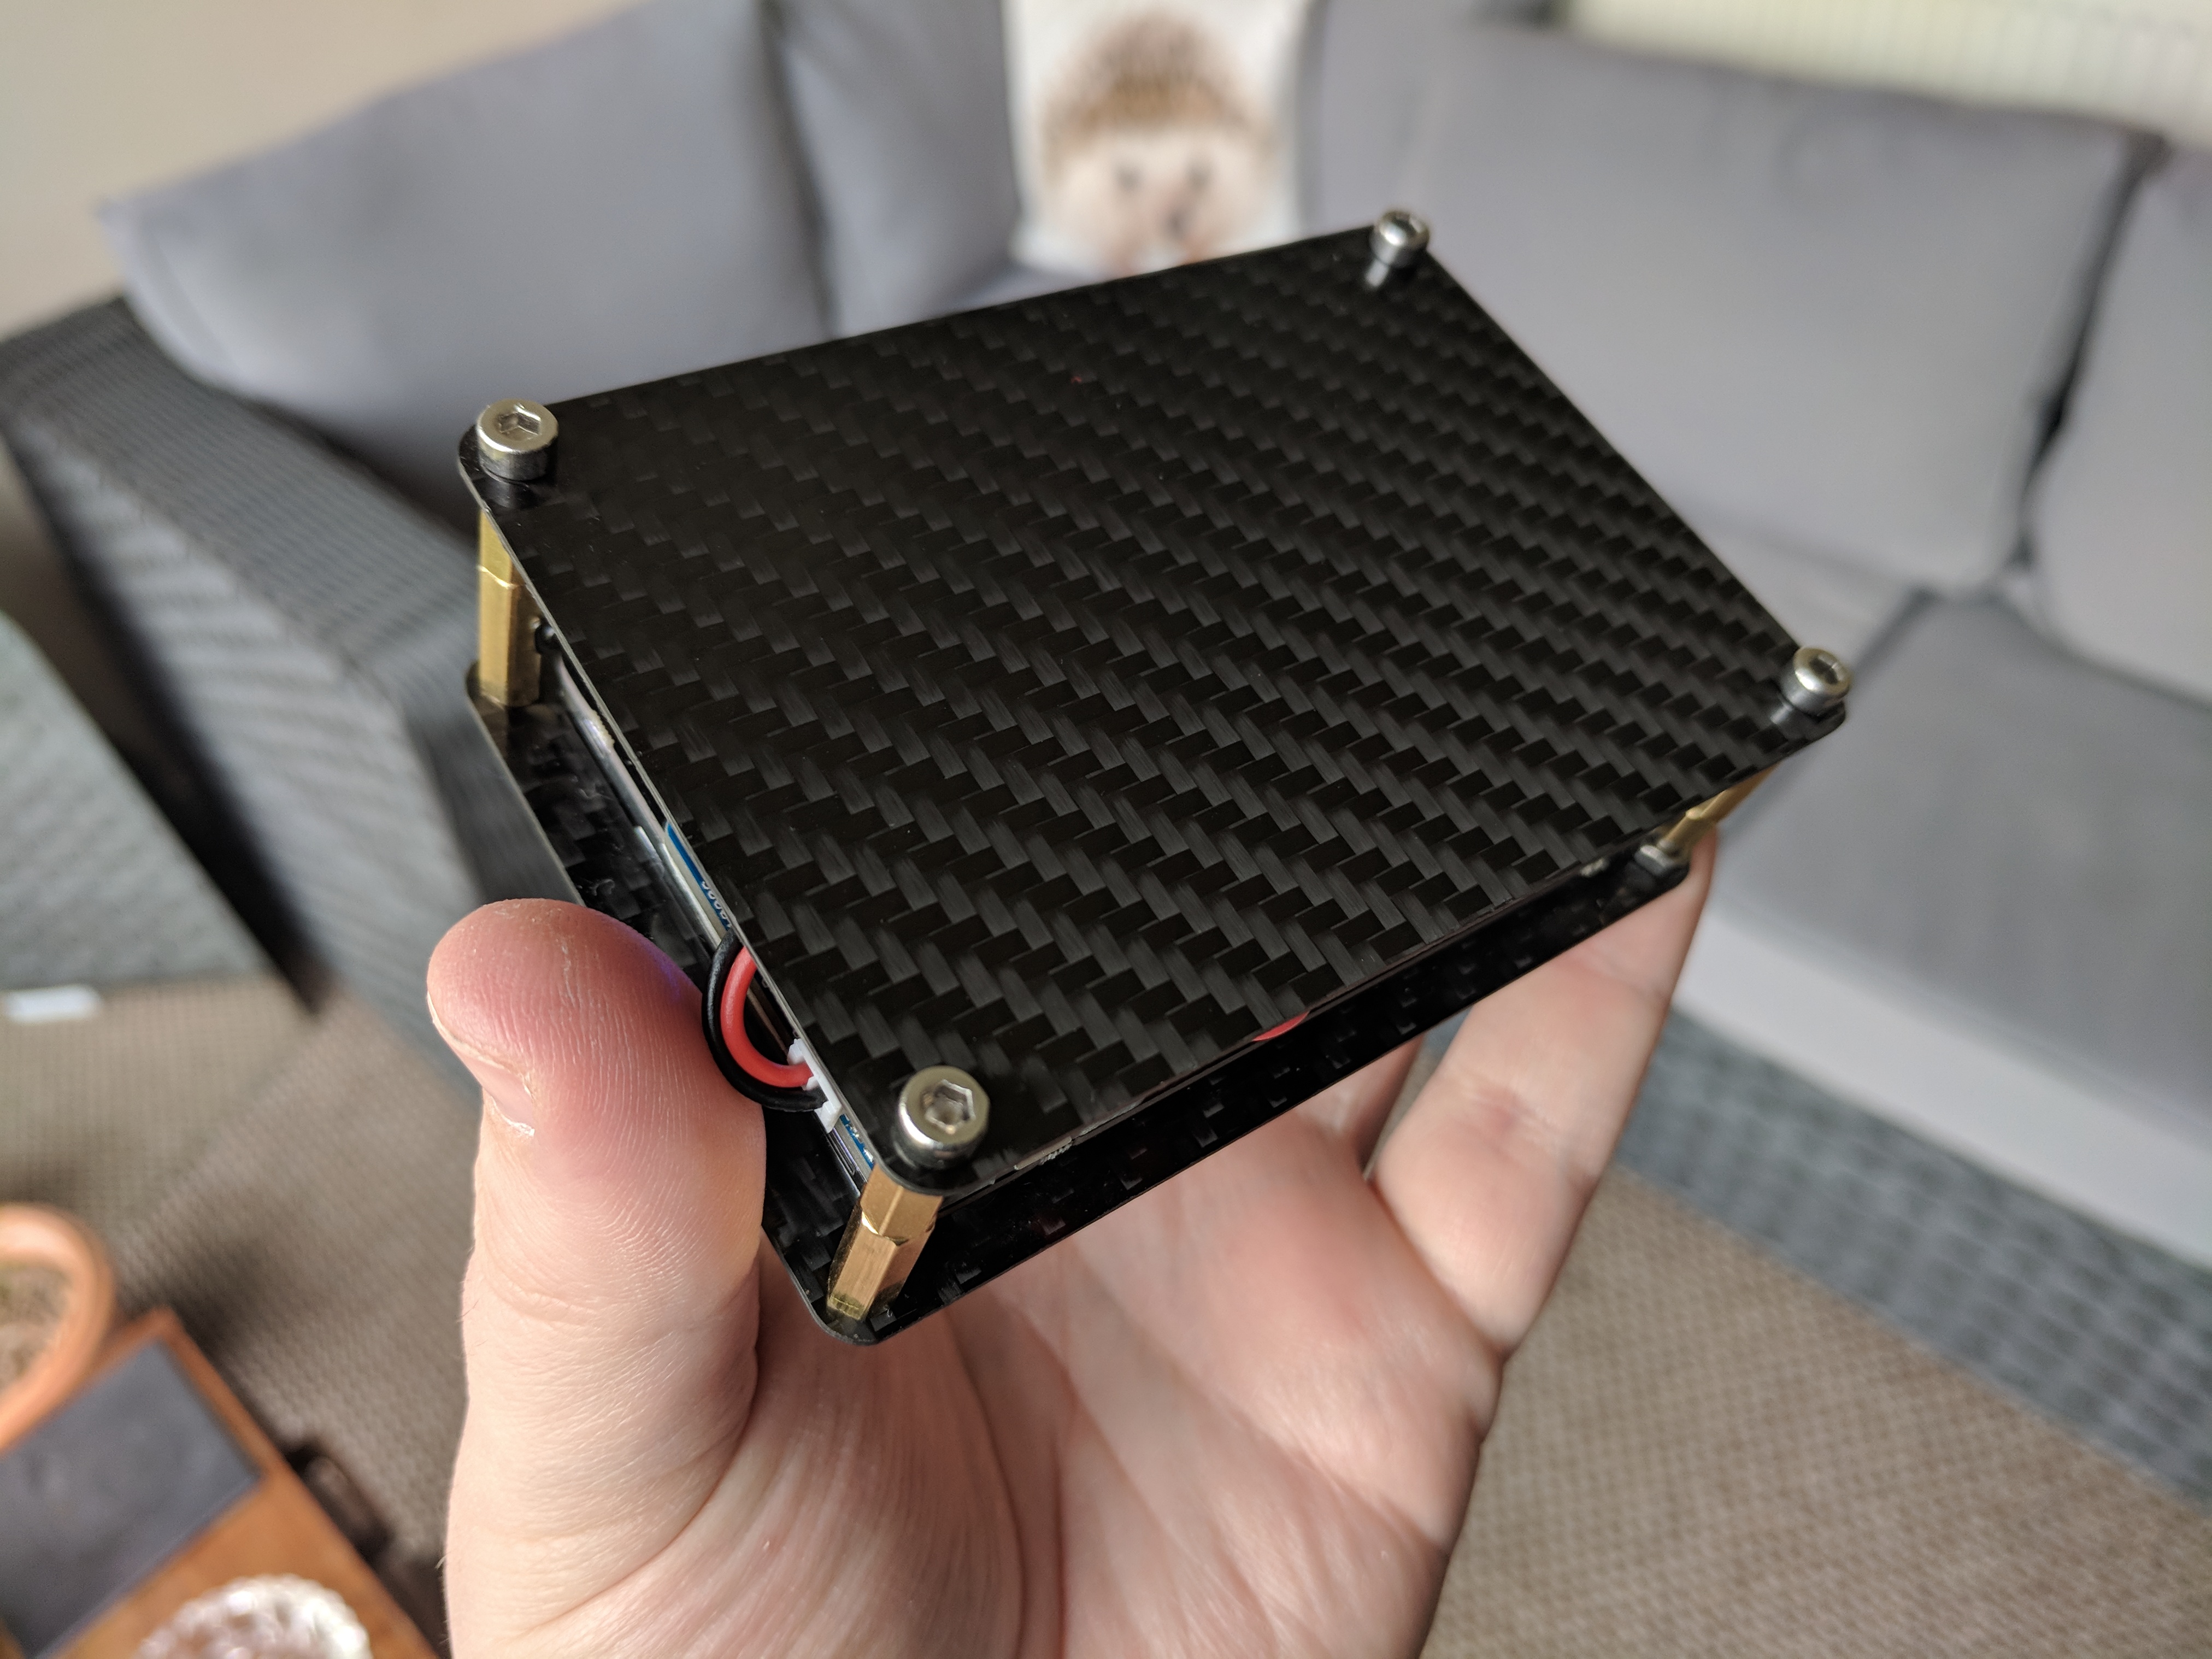
After cutting the front and back plates it was pretty easy to mount the components and use PC standoffs in order to hold the plates at the appropriate distance. It would have been nice to create my own standoffs so that I wouldn’t need to stack them together to get the right height, however I don’t currently have a lathe that I could have made them on. Hopefully some time in the future I can get a lathe to play around with and start creating these components myself.
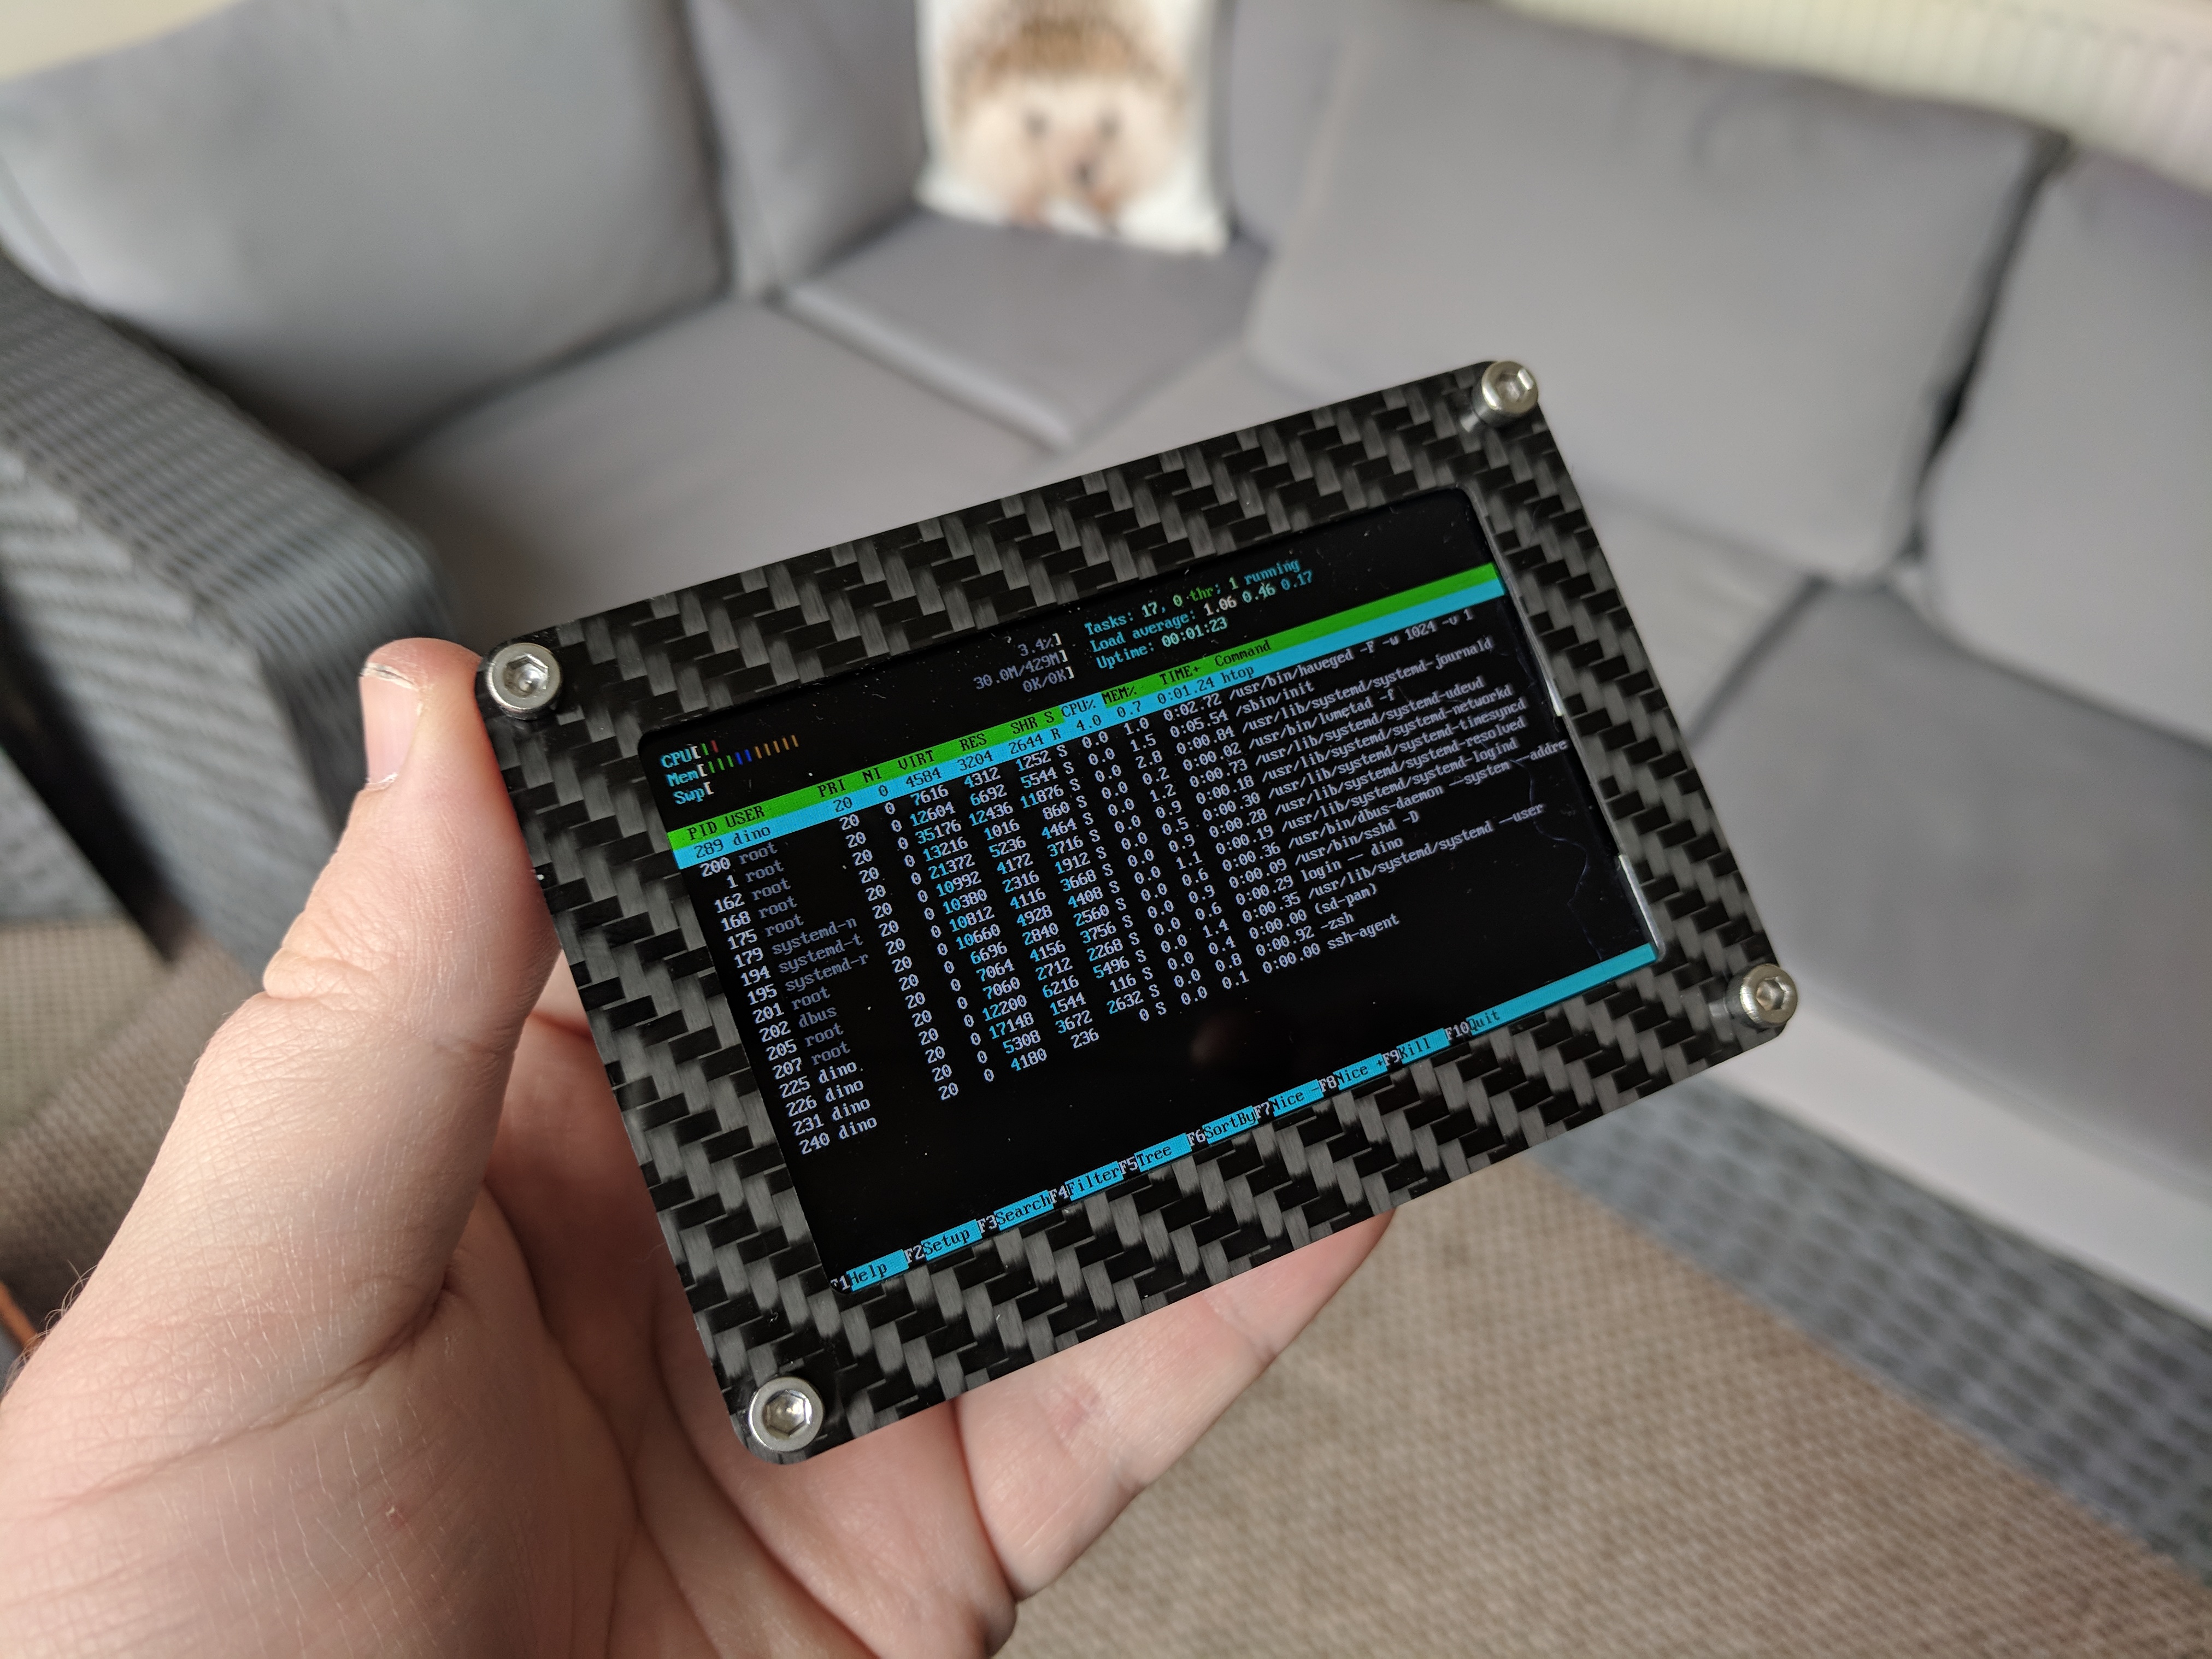
Below is a test to see how much the PI case matches the carbon fibre of the keyboard. I hadn’t made the concious decision to have the weave of the carbon go in separate direction but I think it worked out pretty well.
Custom Mount for holding the Pi computer.
As this was a quick project that I didn’t have a lot of time for and wanted it to start tracking my experiments, I decided to go with the easiest to manufacture mount as possible. As I already had the standoffs that matched the Pi build and I had some left over carbon plate, I designed a very simple mounting method that would allow me to mount the Pi anywhere along the top edge of the keyboard.
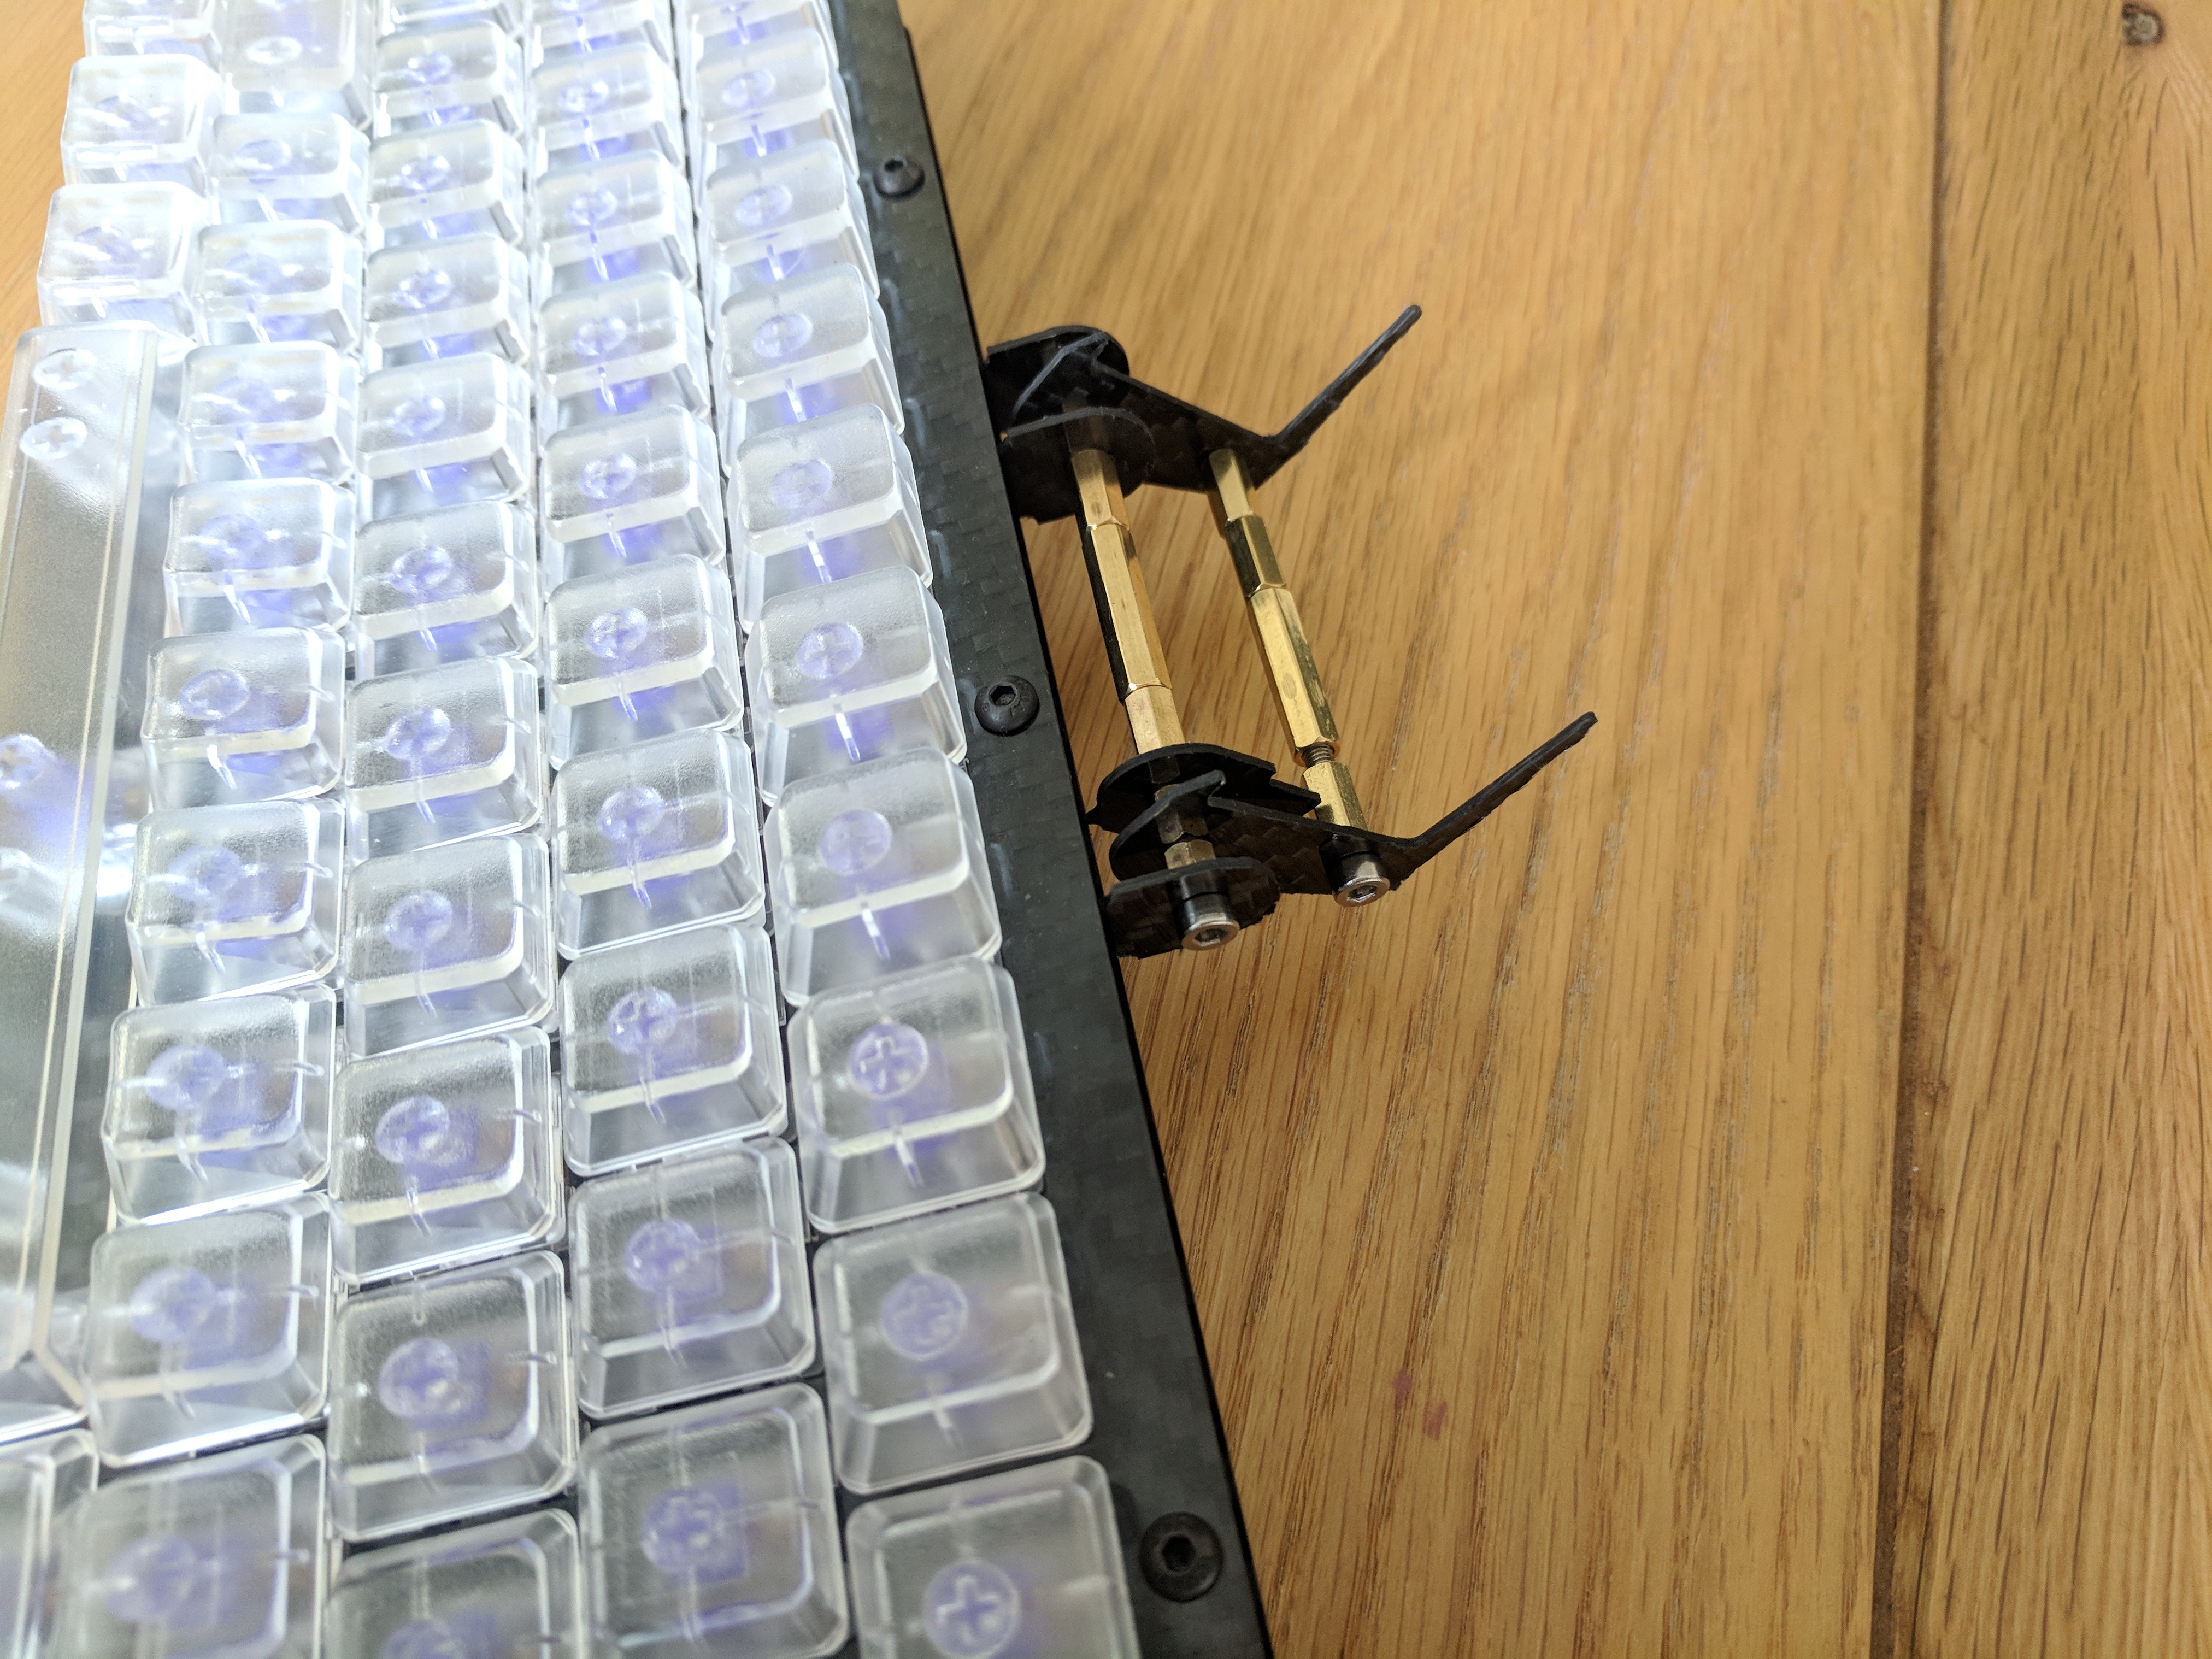
You can see that the mount is made of a few carbon parts held together by the brass standoffs. These parts are friction fit between the two plates of the keyboard and provide support for the Pi. As this is just a keyboard that is going to sit on a desk I didn’t feel the need to make anything super secure, however it can securely hold the Pi to the keyboard even when transporting between rooms.
Conclusion
This project ended up being a pretty nice size to have fun with building something but not taking up a large amount of time. I am building this a little after a Custom PC build that took a lot longer (update: build log for that PC here) and required much more effort and custom fabrication.
I ended up with pretty nice result without much effort on my part, making (I think at least) good compromises in terms of quality in order to save time and effort to still get to a nice result. I’ve been using the Pi mainly as a way to monitor experiments and results coming in from my RL experiments running on my personal Kubernetes cluster, I’m not sure how long I will stick with this setup but it is enjoyable to use at the moment and has some utility.